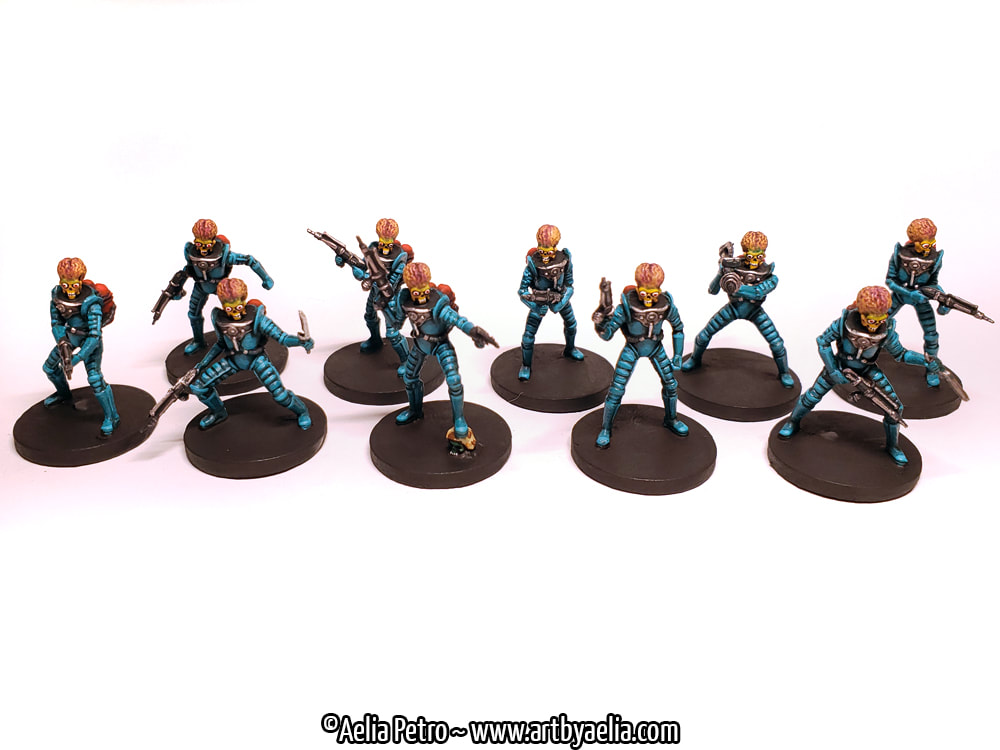
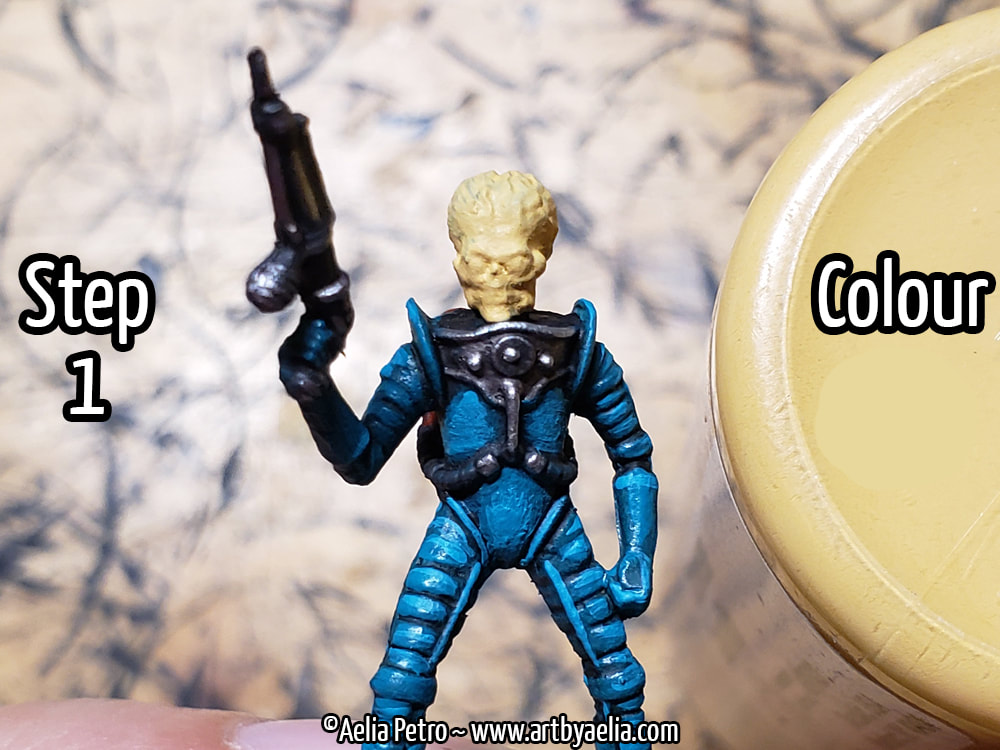
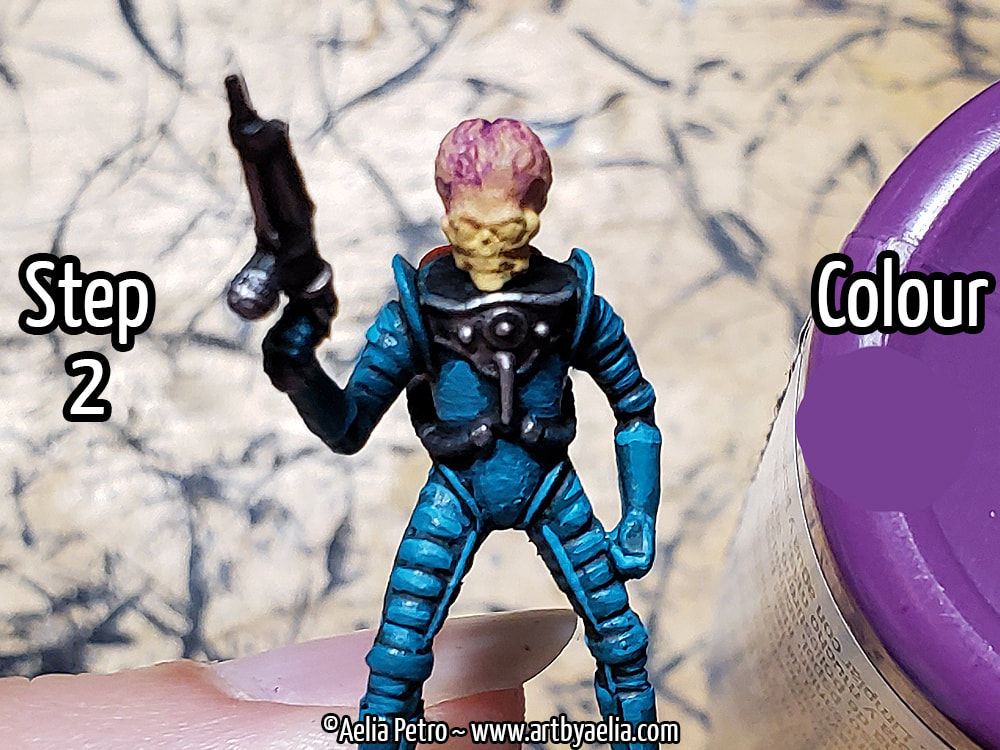
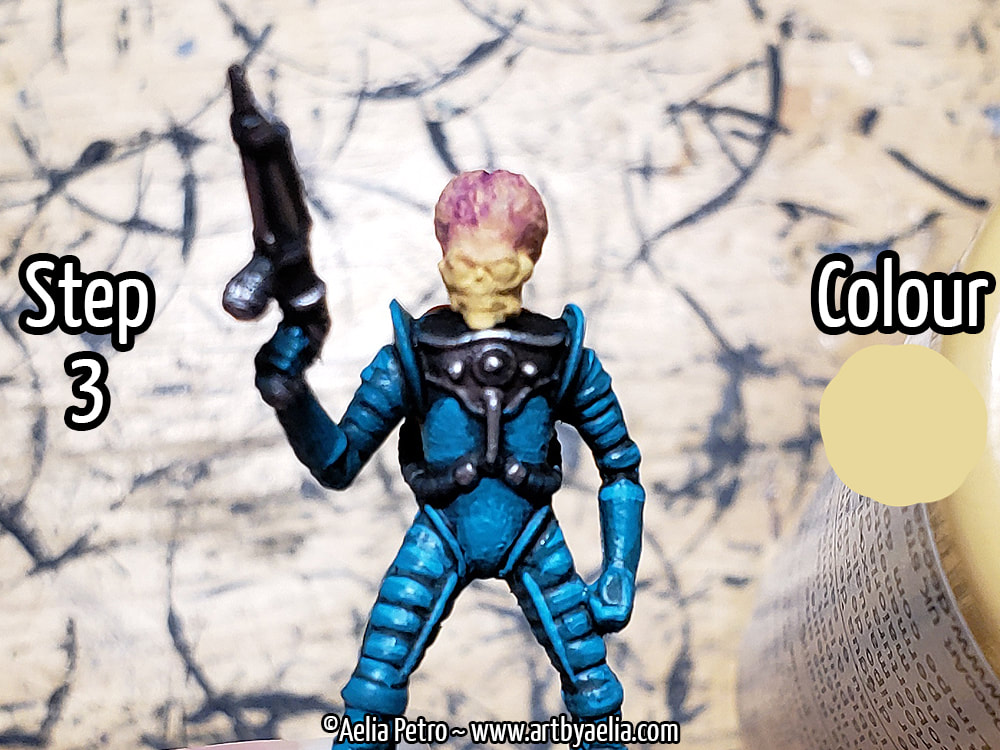
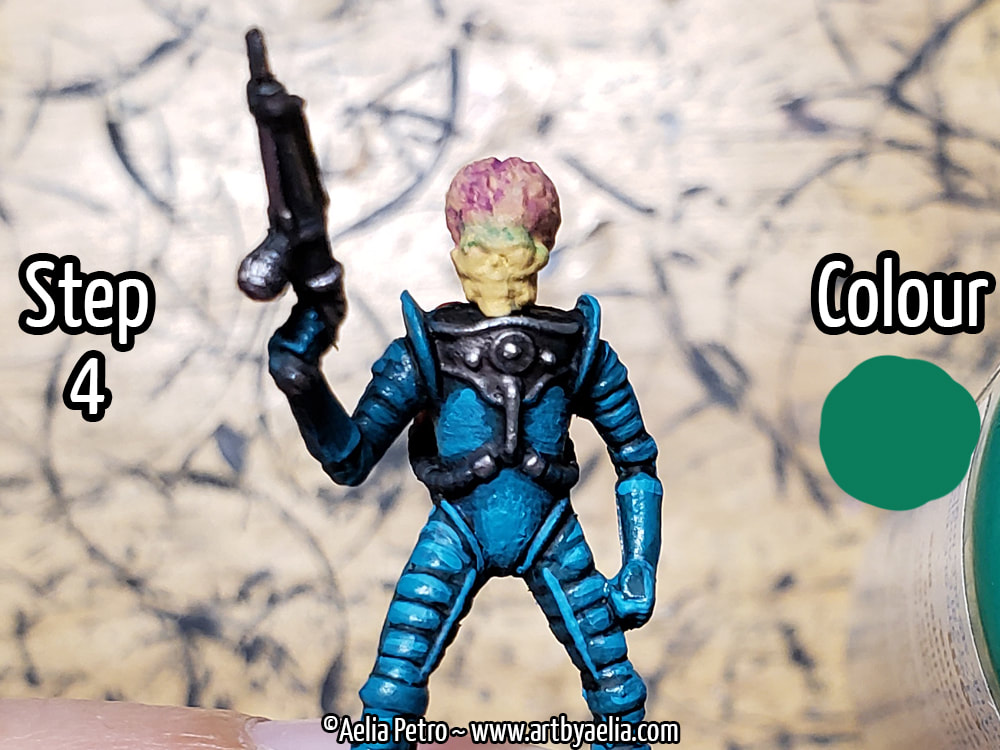
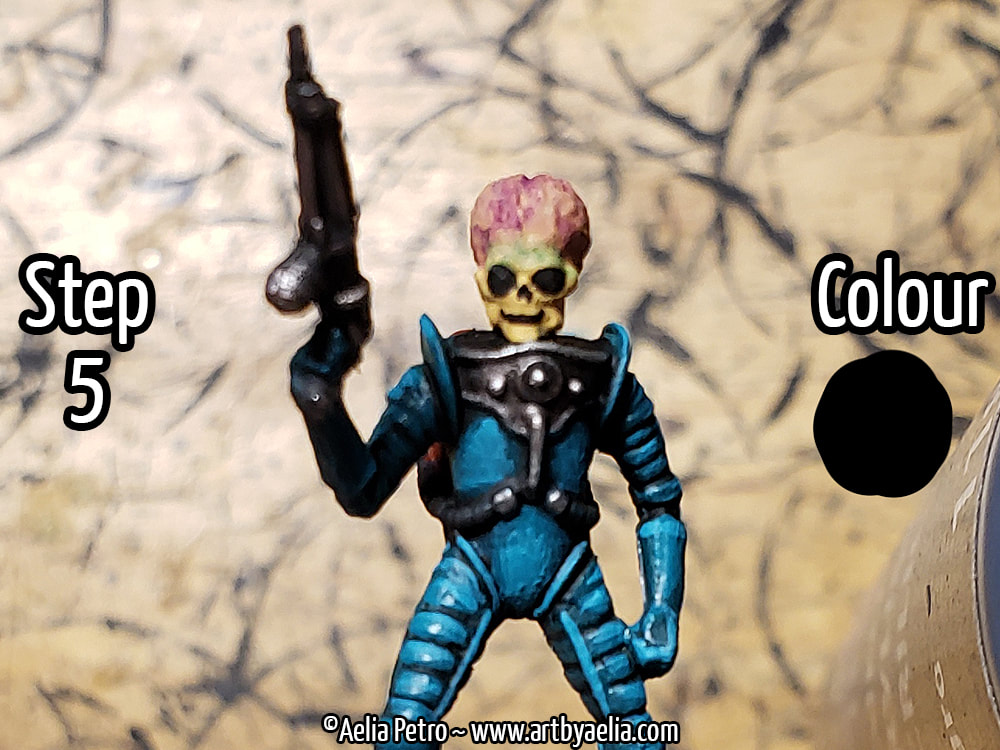
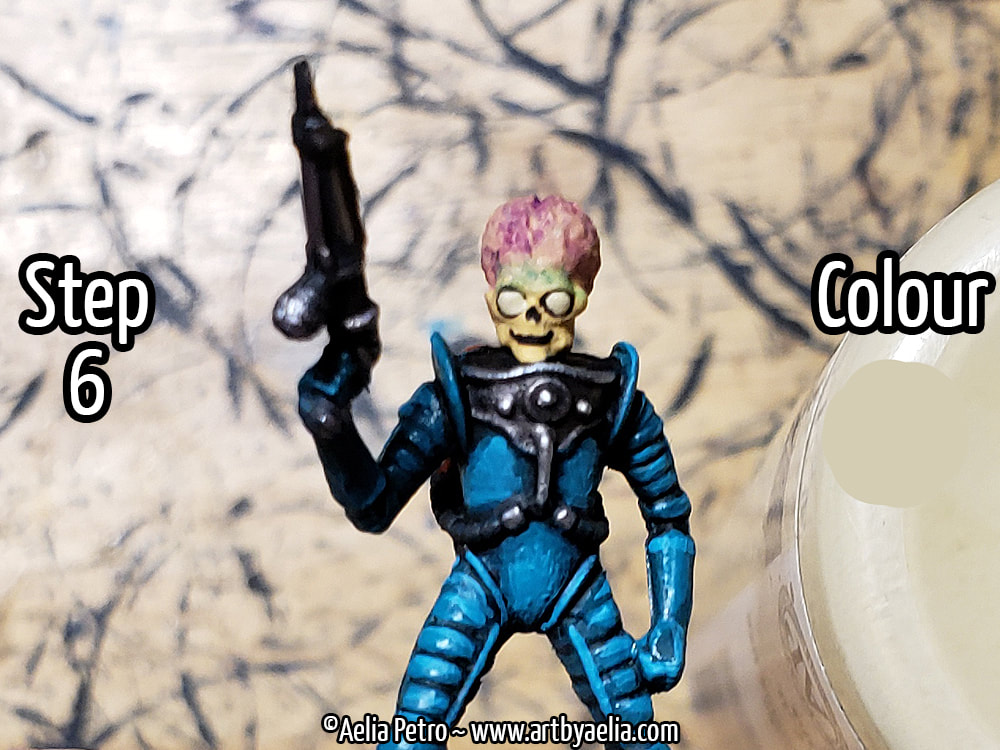
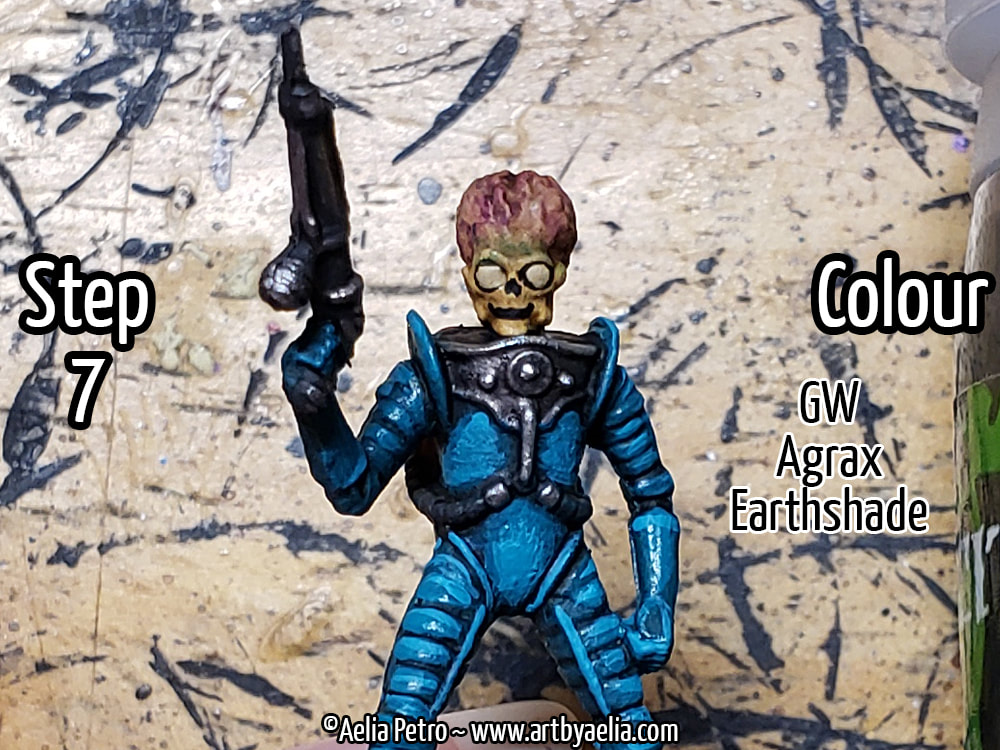
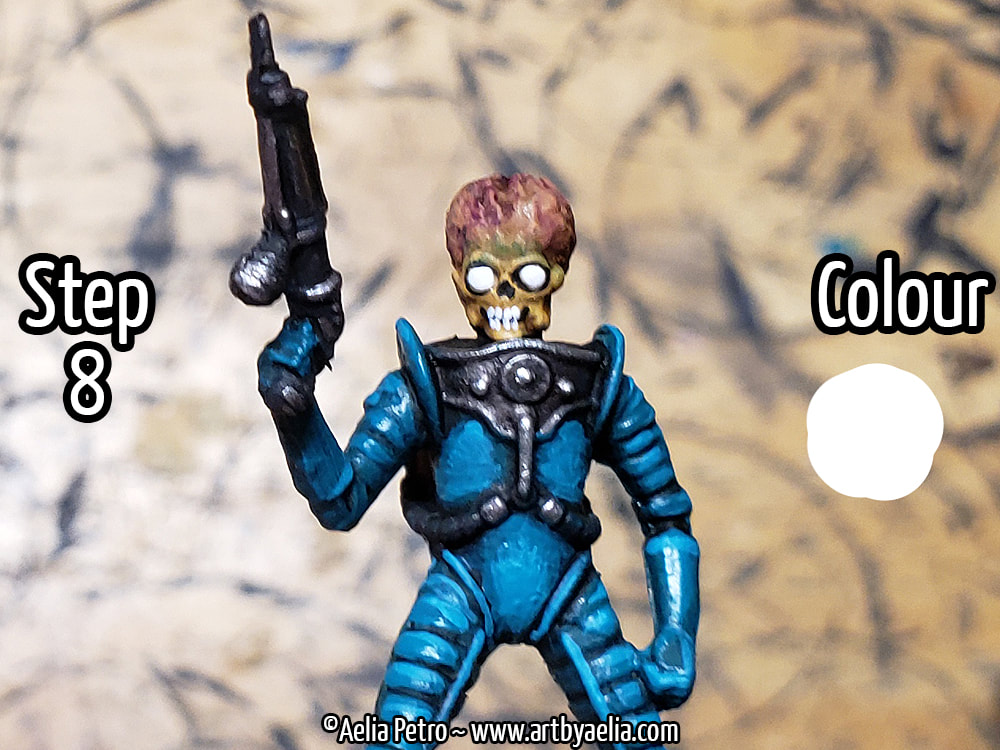
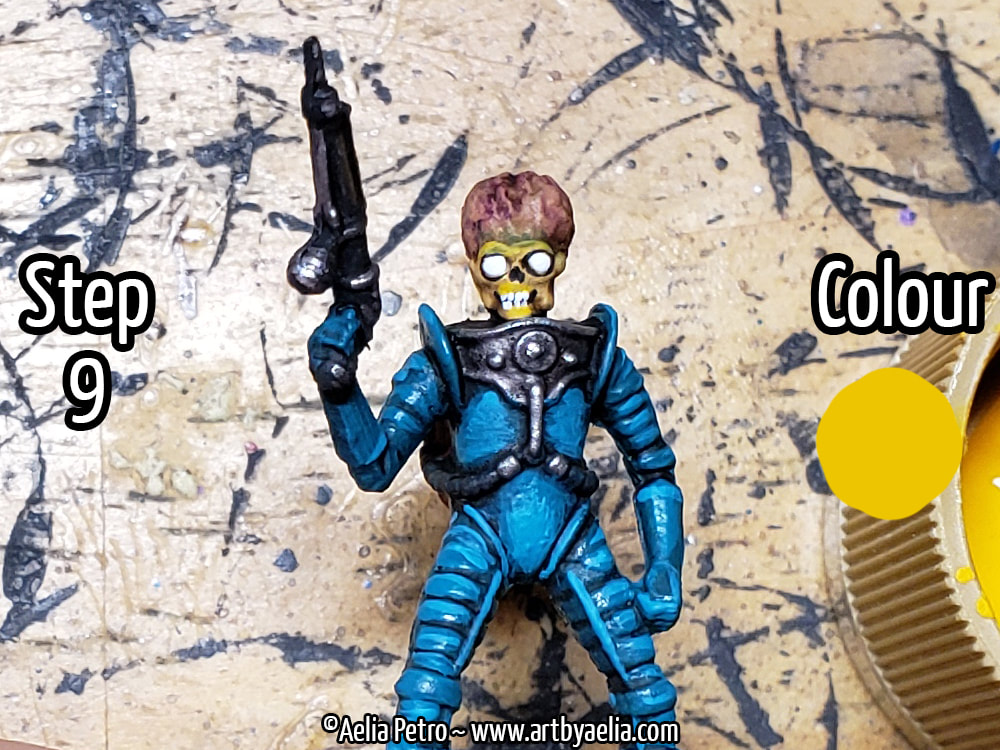
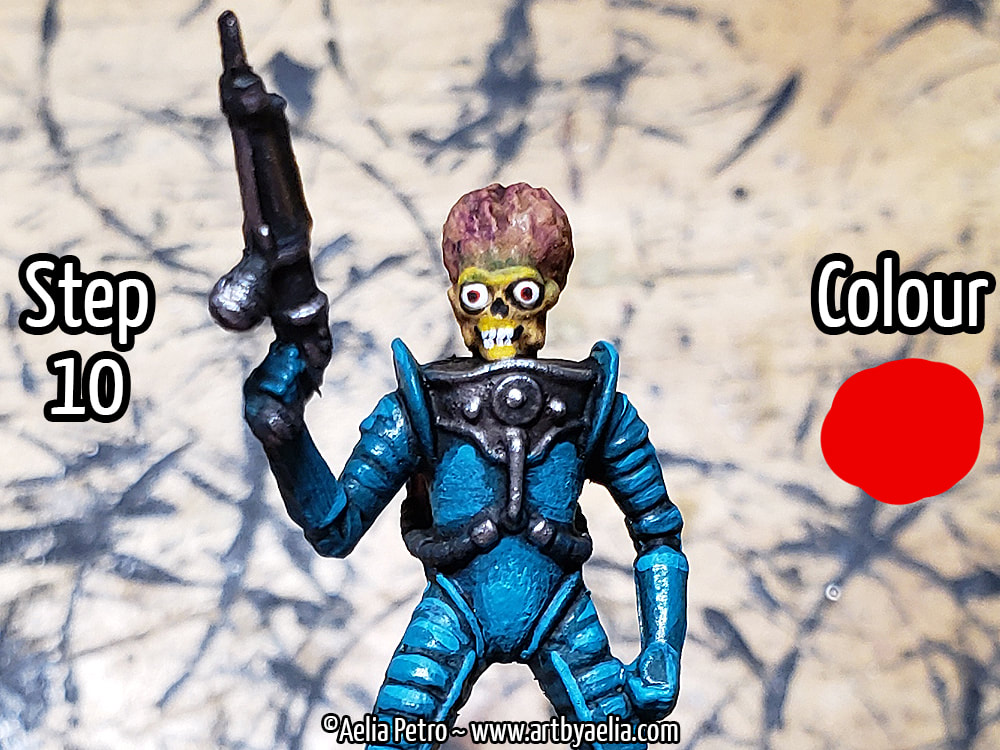
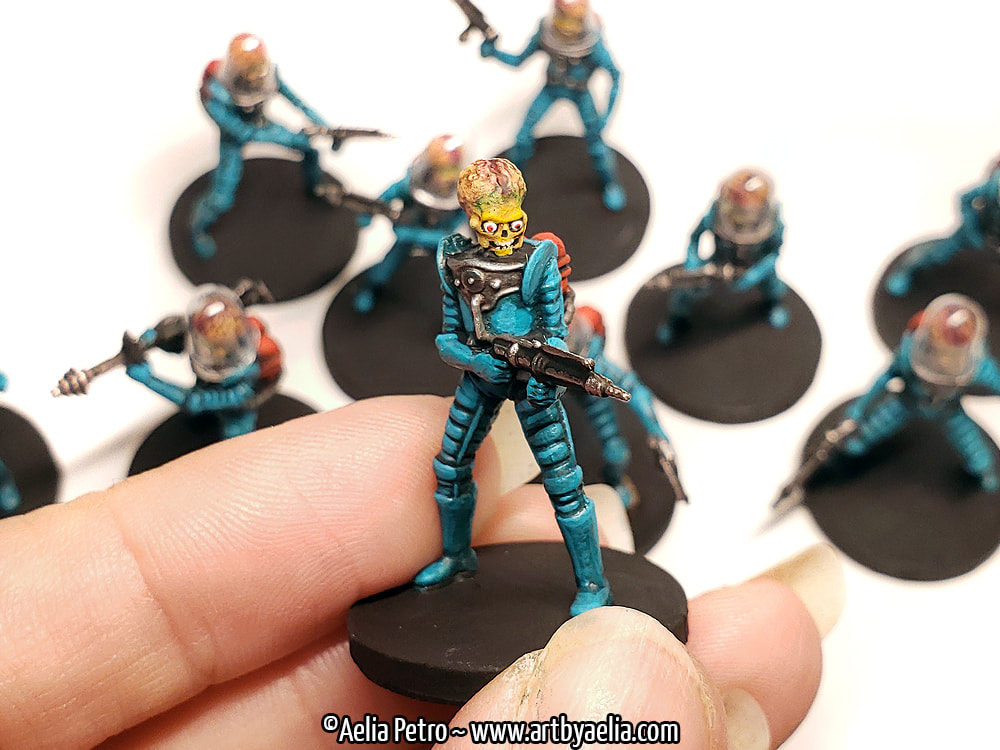
Aka: Painting Mars Attacks Martian Grunt HeadsI recently got into the Mantic Mars Attacks Miniatures Game. Poor timing on my part since the game has been out of production for some time, making much of it difficult to come by. I was able to get my hands on a used copy of the base game, and have been having a lot of fun painting the martian grunts. Here's a look at the process I used to get a look close to the martians in the movie (which are deceptively complicated).
That's all there is to it! If you're feeling fancy, a dot of gloss varnish on the eyes will make them pop, but it'll be less noticeable if you've got the helmet domes for them.
0 Comments
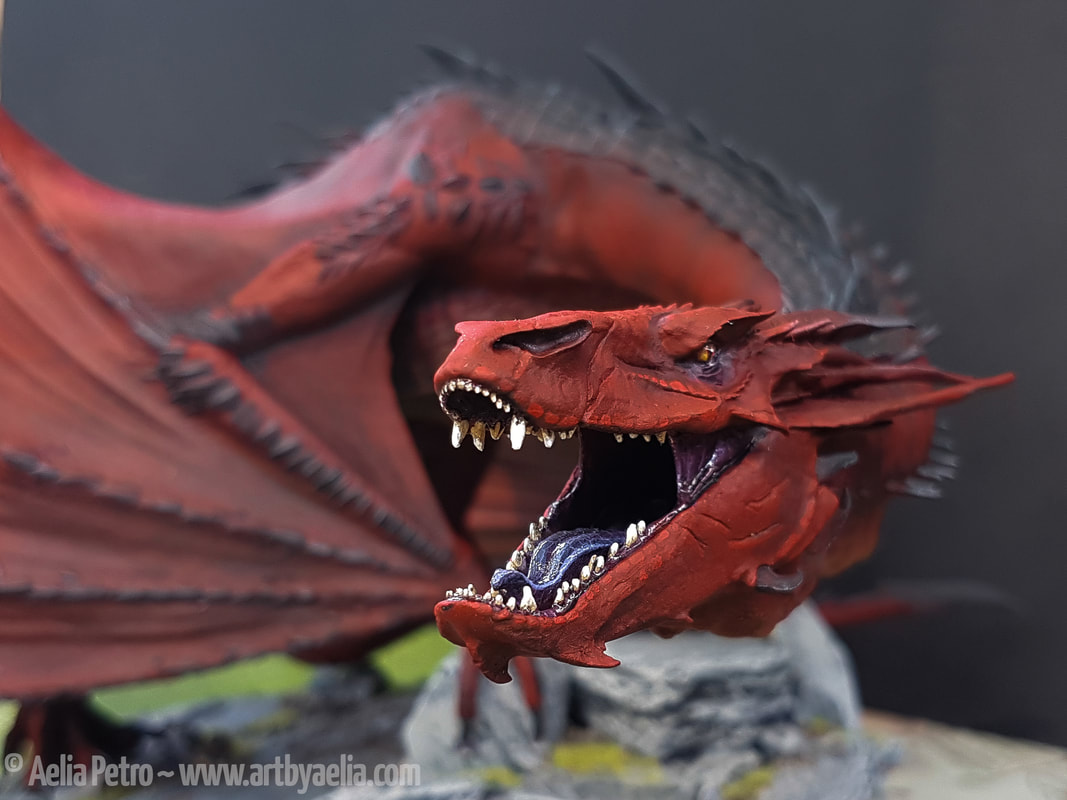
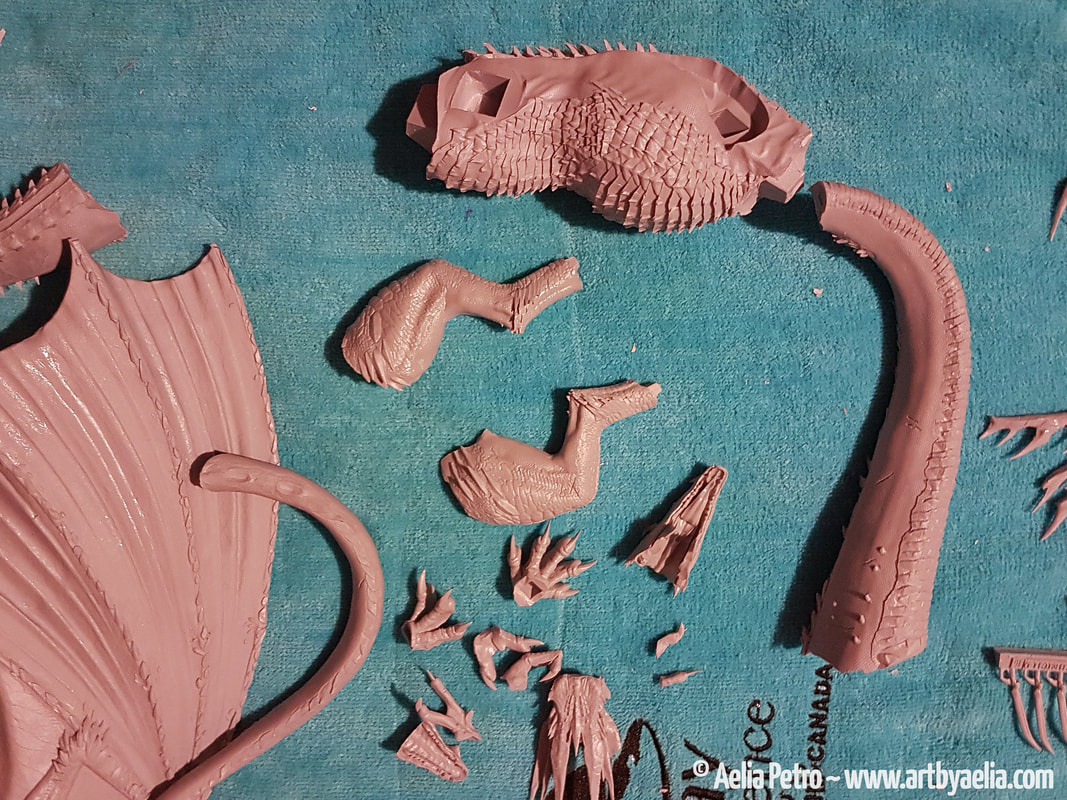
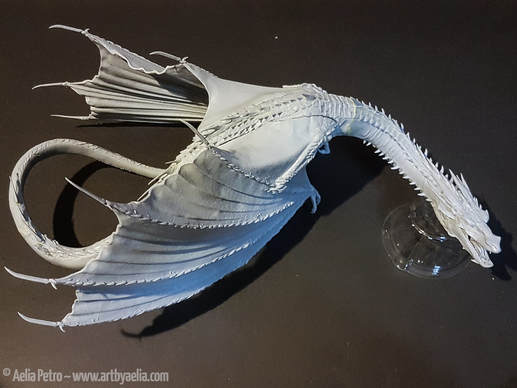
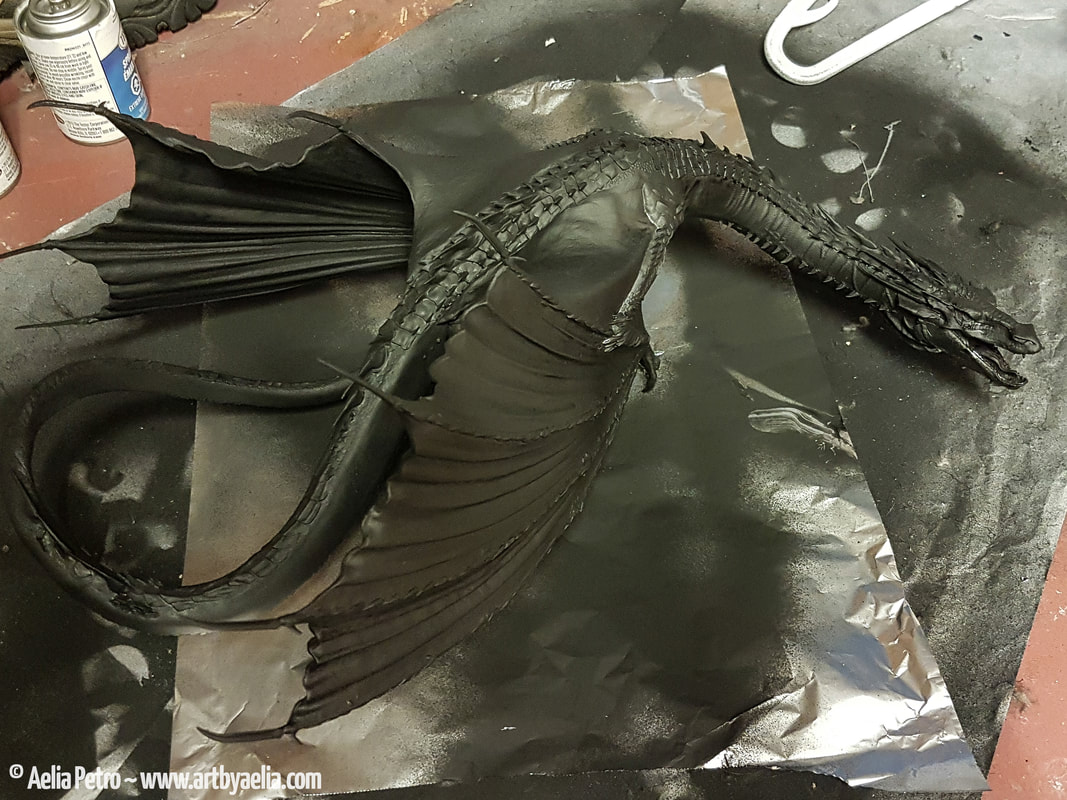
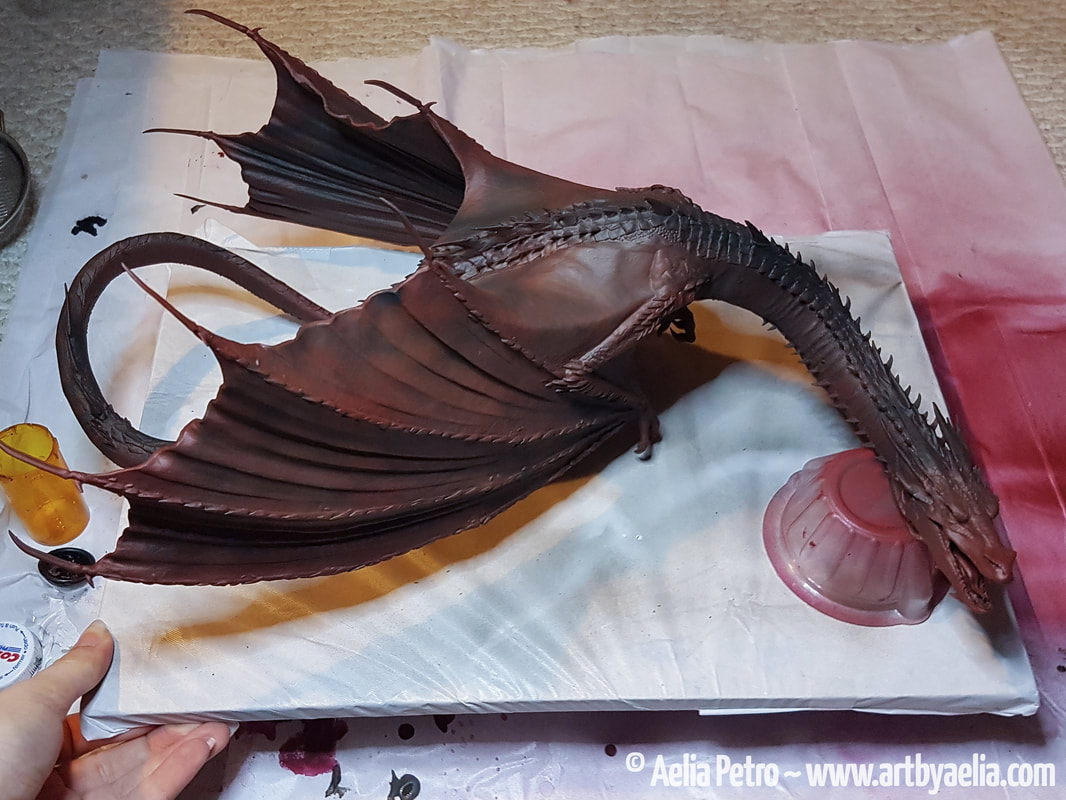
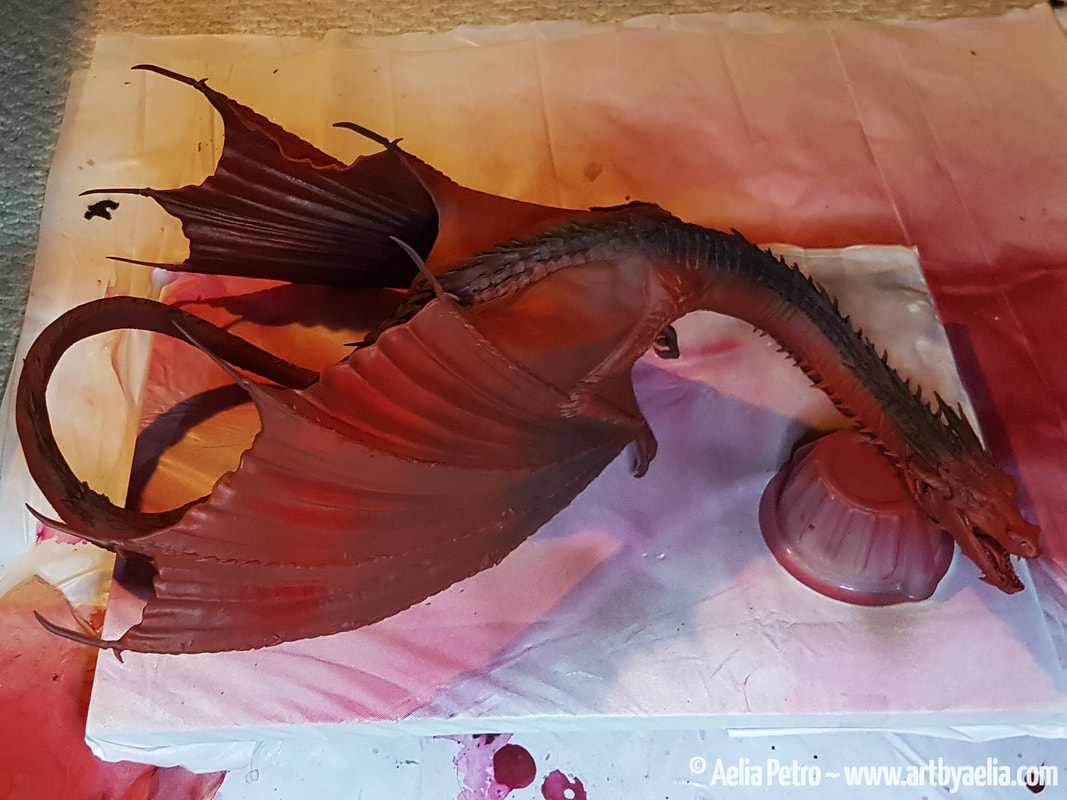
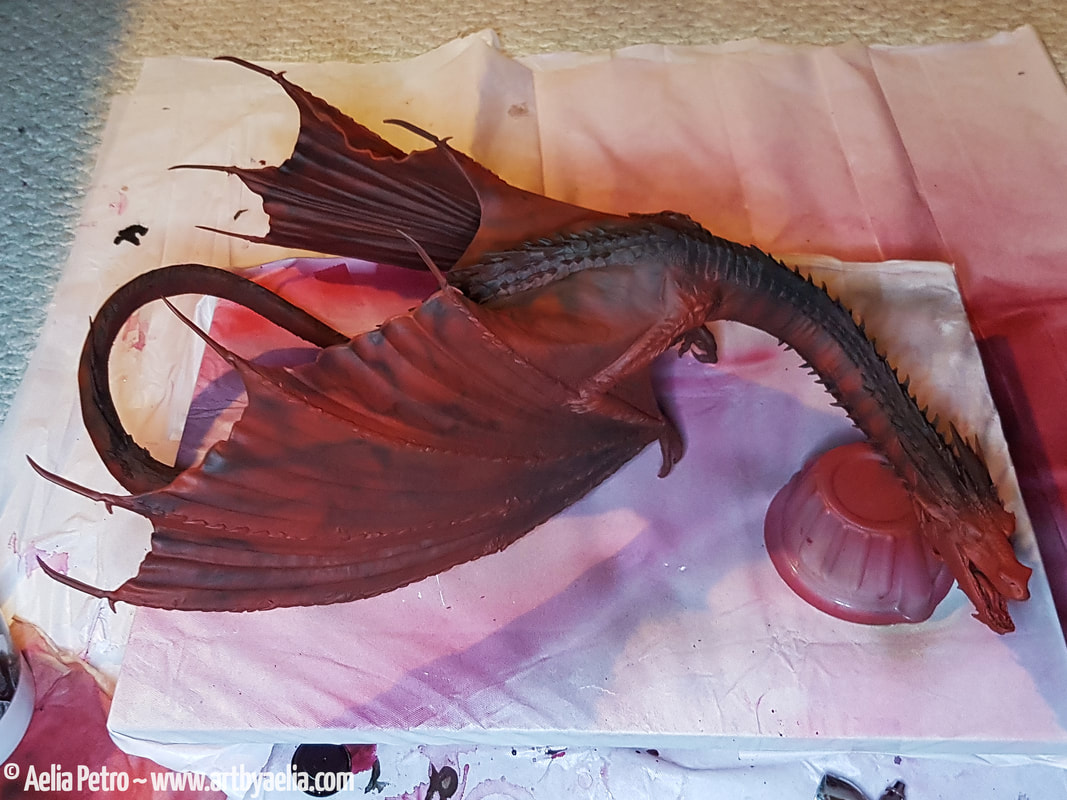
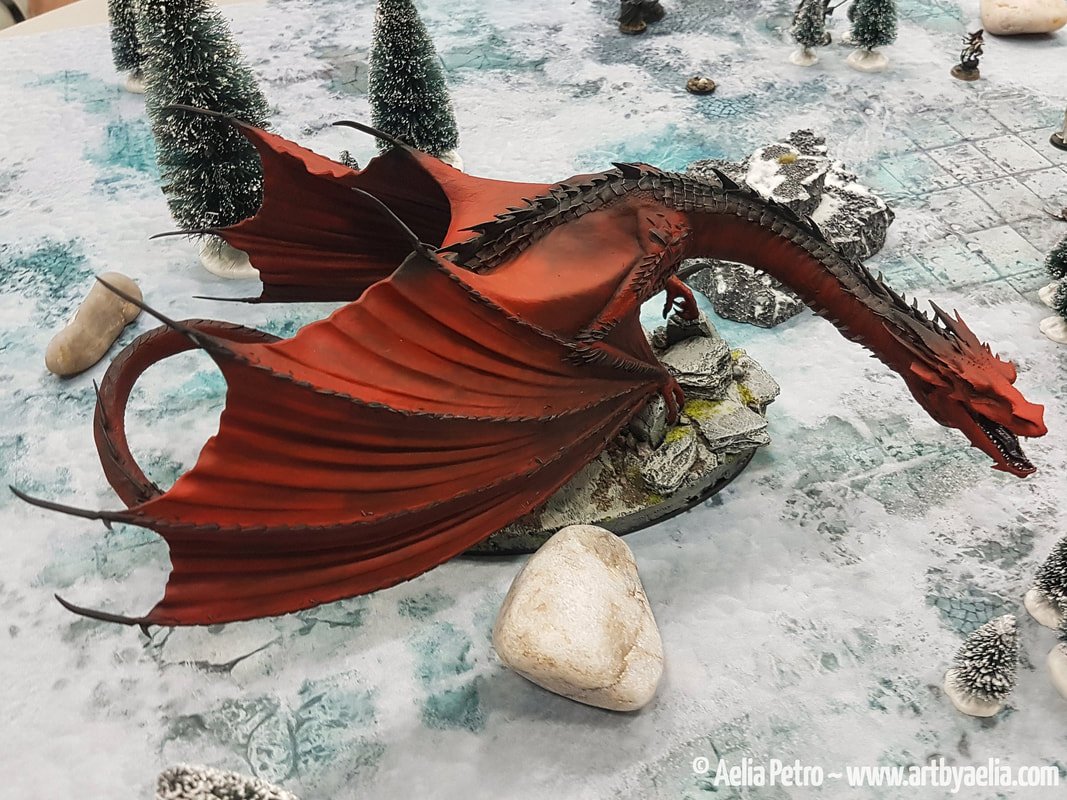
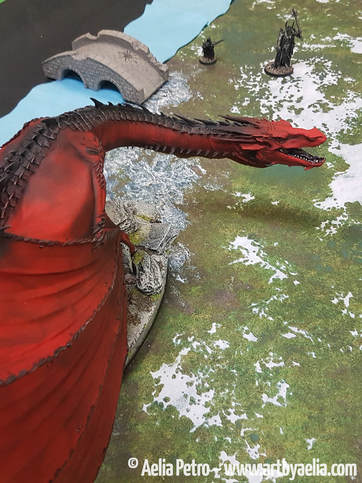
I finally did it... I assembled and painted Smaug. I've had the model for months, but have been too intimidated to give it a go. With a 1000 point all-hero tournament coming up, my ever helpful boyfriend suggested that I break out this beastie. I immediately loved the idea, and hated the fact that it would force me to work so quickly (for me, that is a VERY short timeline). Probably for the best, since otherwise this model probably would have been completed in spurts over the course of months lol... and thus, with 16 days to go before the event, I got to work! FYI.. Games Workshop states on their website: "This miniature is not recommended for children under the age of 14. Advanced modelling skills are required". This is no joke. I've been painting models since I was 2, and modelling for decades, and this guy was a serious challenge. If you want to do him justice, there can be no short cuts, and he is not beginner friendly. You'll need a shape blade in your x-acto, a couple of solid glues, a metric crap-load of filler (Milliput or Green Stuff, or what-have-you), and a great deal of patience. He will surprise you. He will test you. He will break. You will break. But with perseverance, you will wind up with an unbelievably gorgeous centerpiece to your collection.
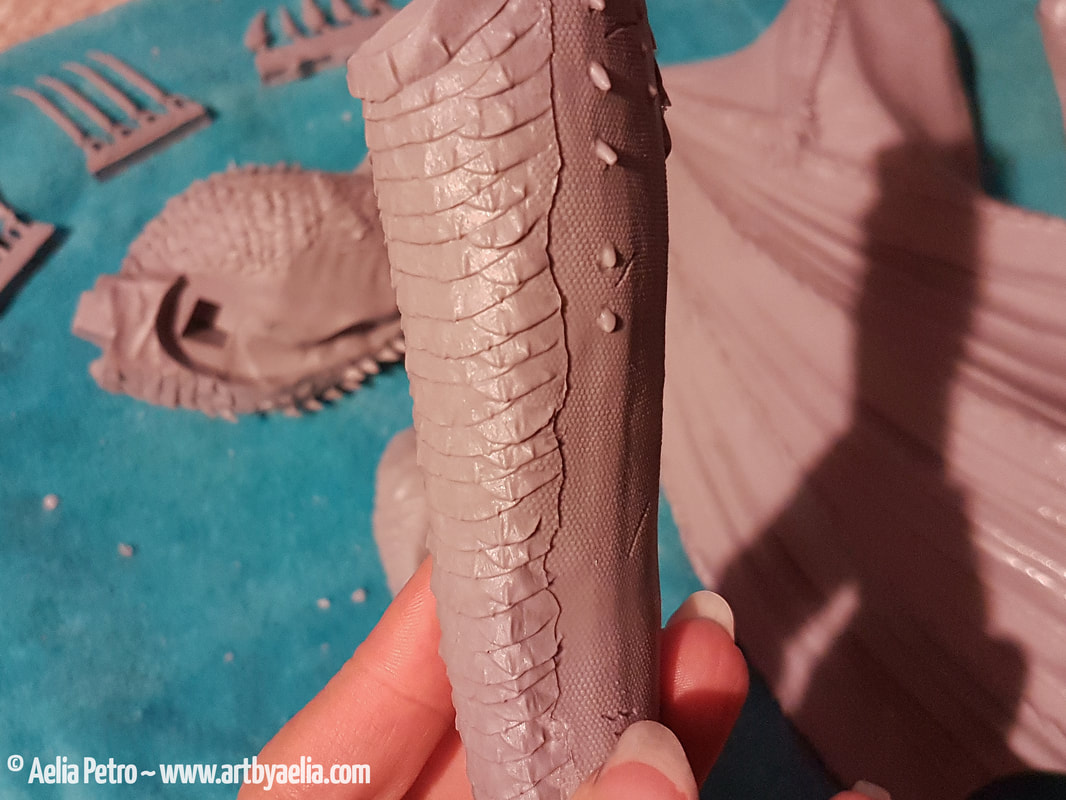
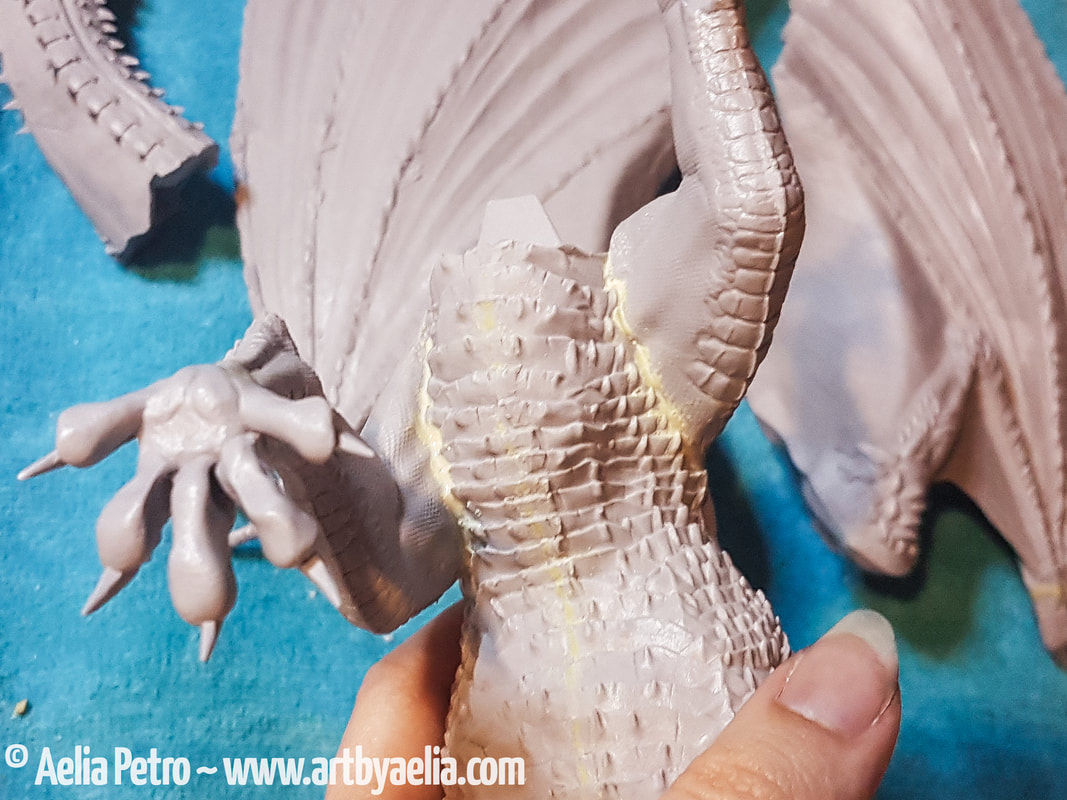
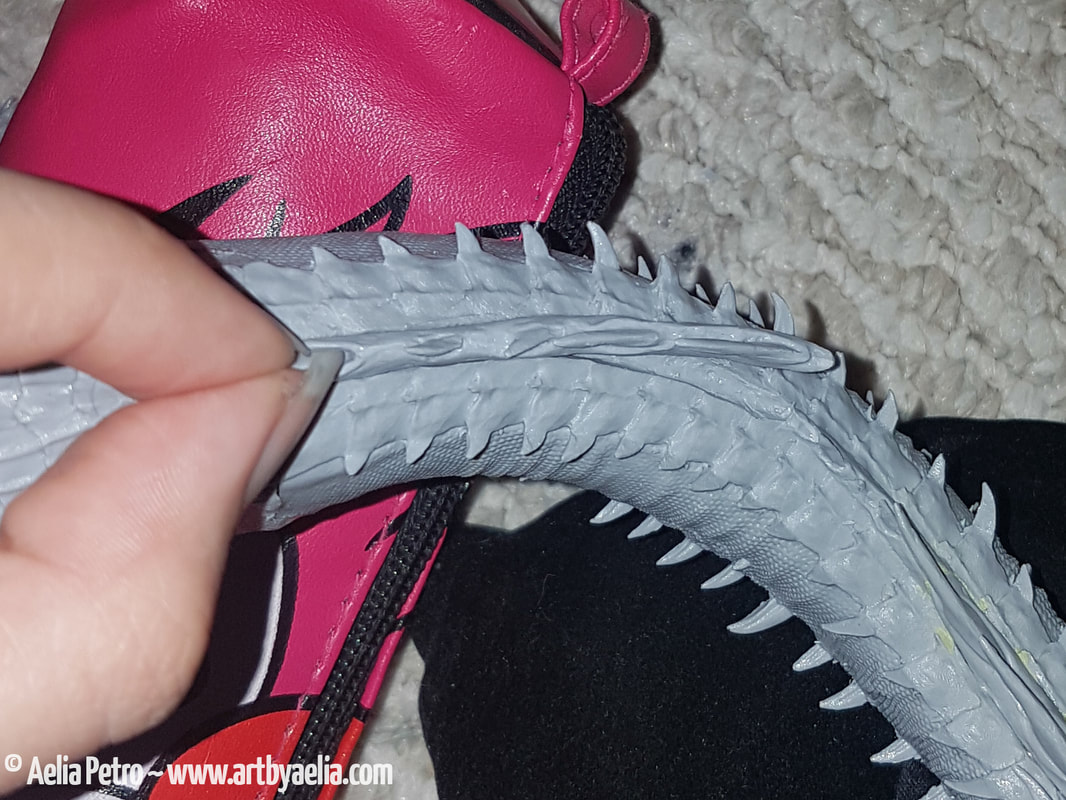
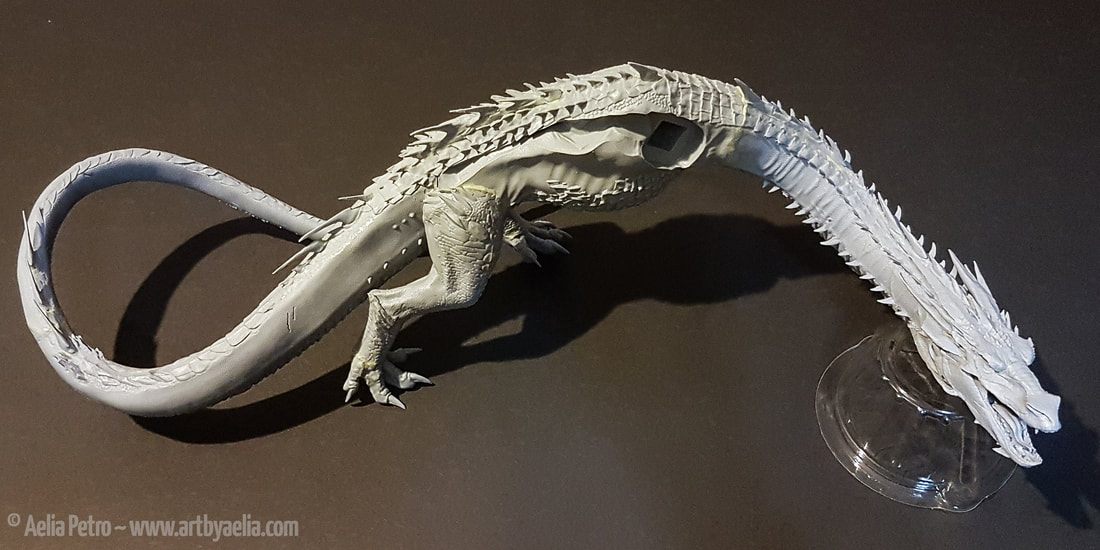
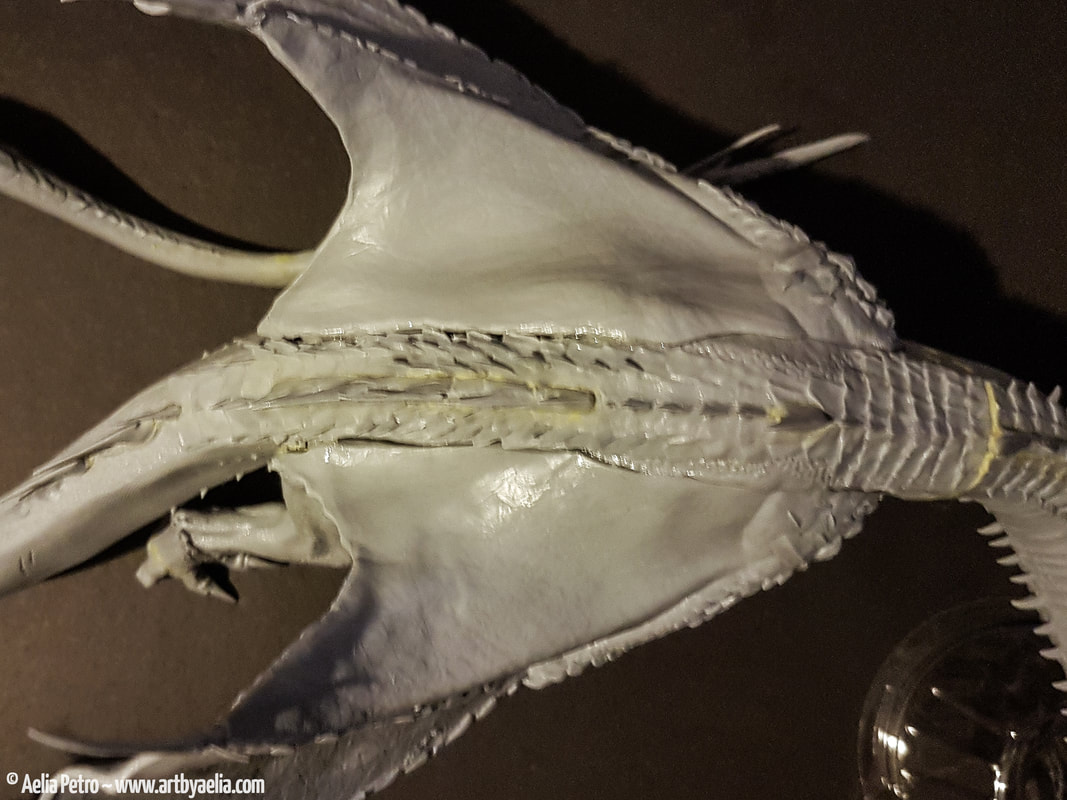
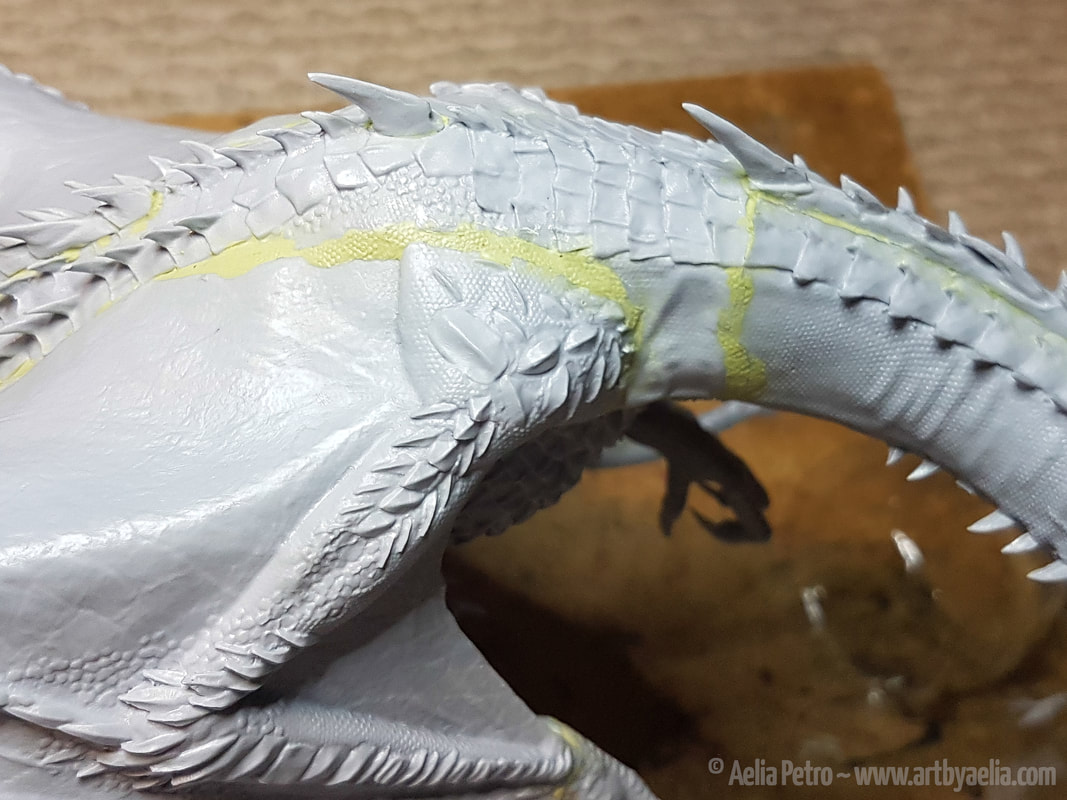
Next I assembled the head and filled the gaps in those pieces. I followed by gluing the head to the neck, and filling the gaps that followed. Then the neck and tail were attached to the body. Gaps aplenty. The texture stamp I created was helpful for maintaining the scale pattern in the newly sculpted areas.
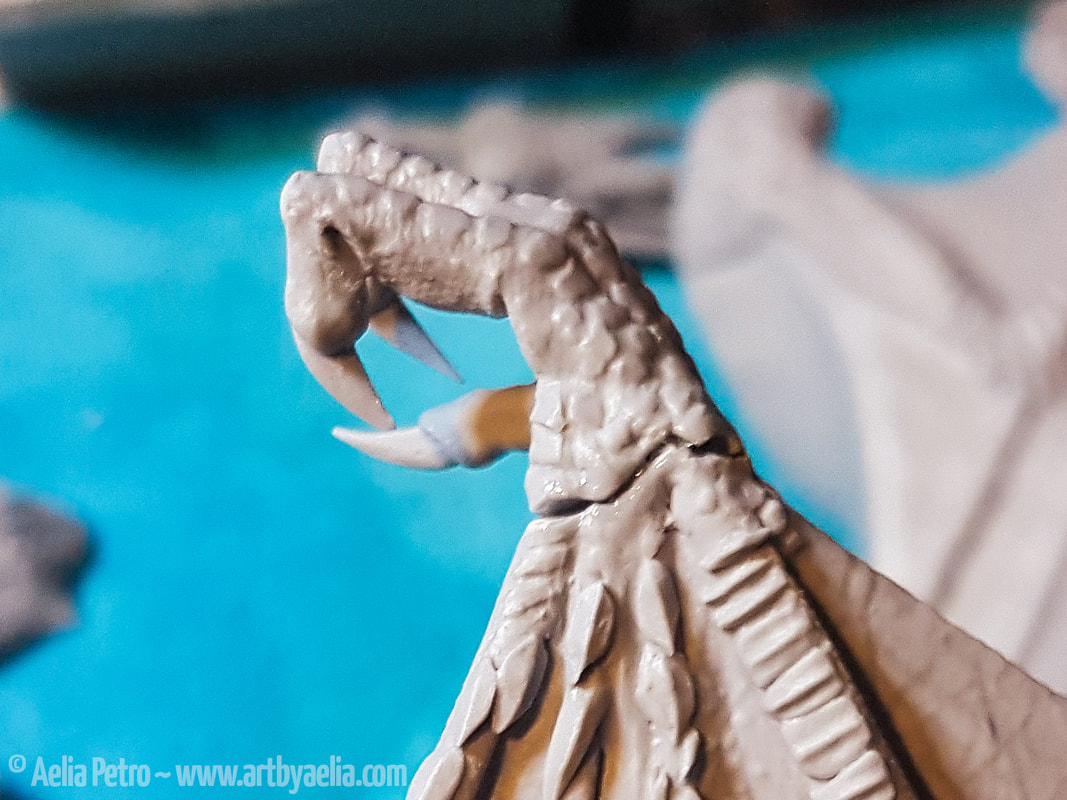
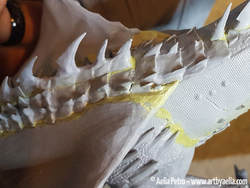 More repairs and texture matching in progress. There was a massive space between the end of the wing and the side of Smaug's body, which had to be bridged.
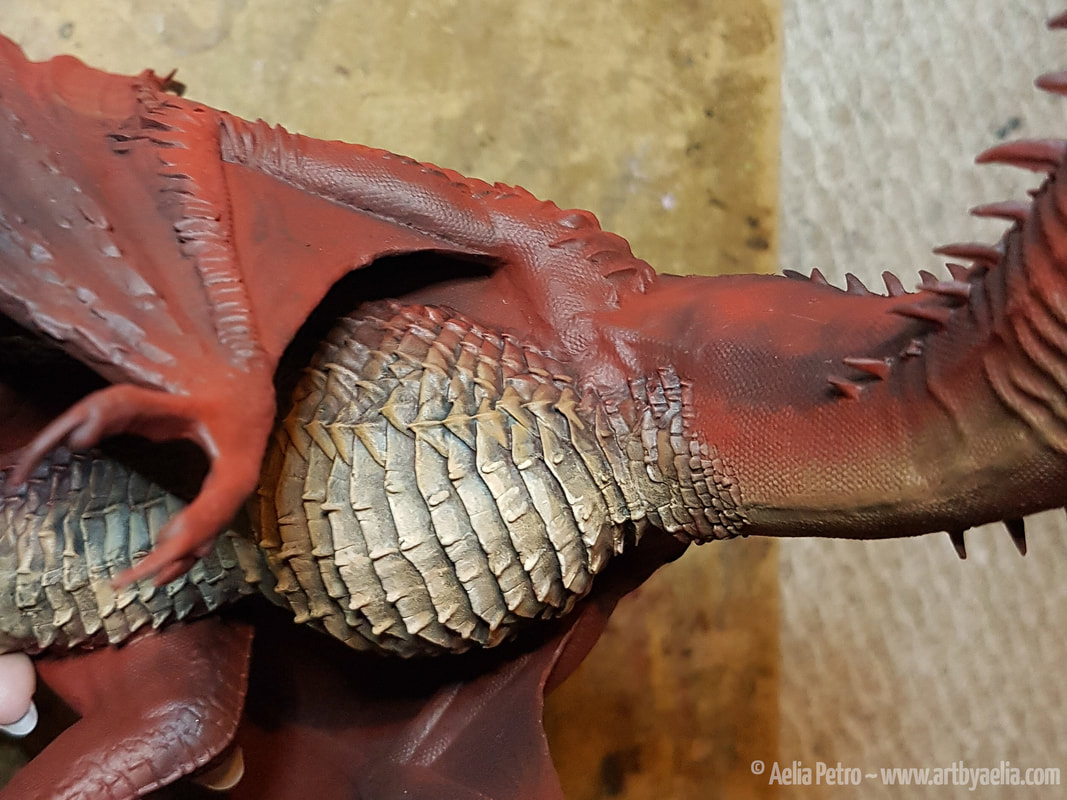
Belly scales were next, and the pressure was on! I wasn't expecting to be so happy with the outcome of the air brushing, so getting the belly to a place I was happy with was difficult. I used a combination of airbrushing, dry-brushing, washes, and edge highlights to get to this point. Several shades of tan and brown were blended using dry-brushing, blending into the red of the body. Both Agrax and Nuln washes came in handy.
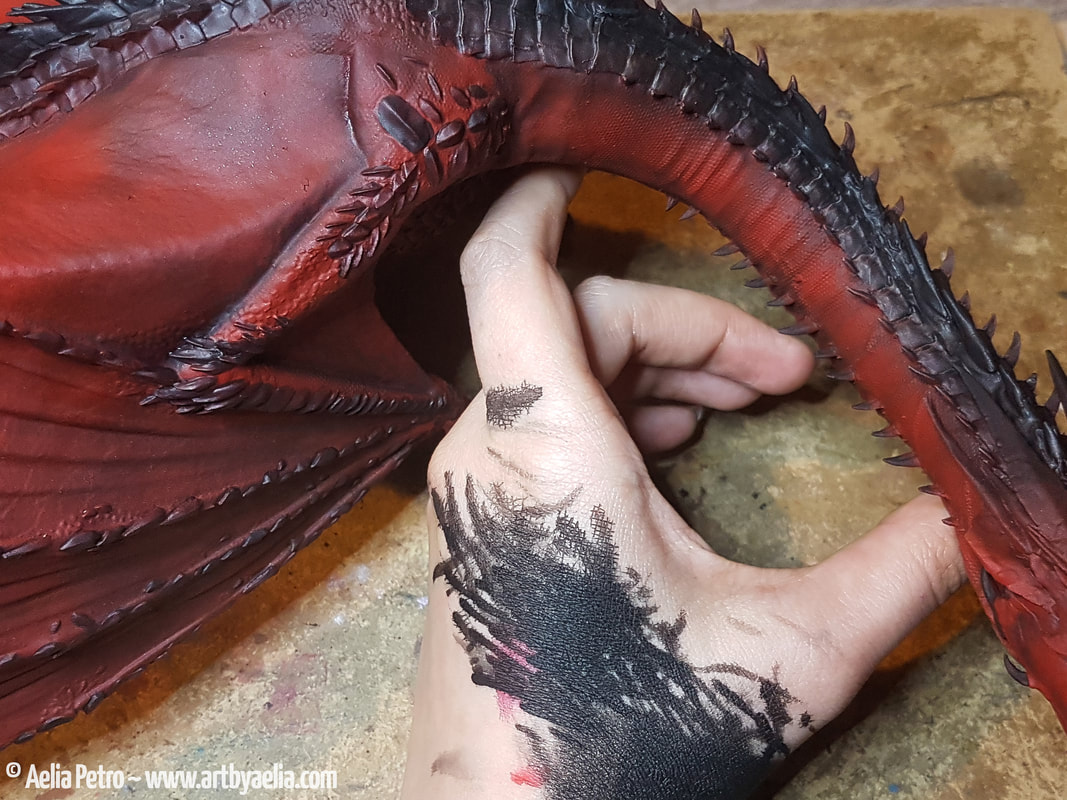
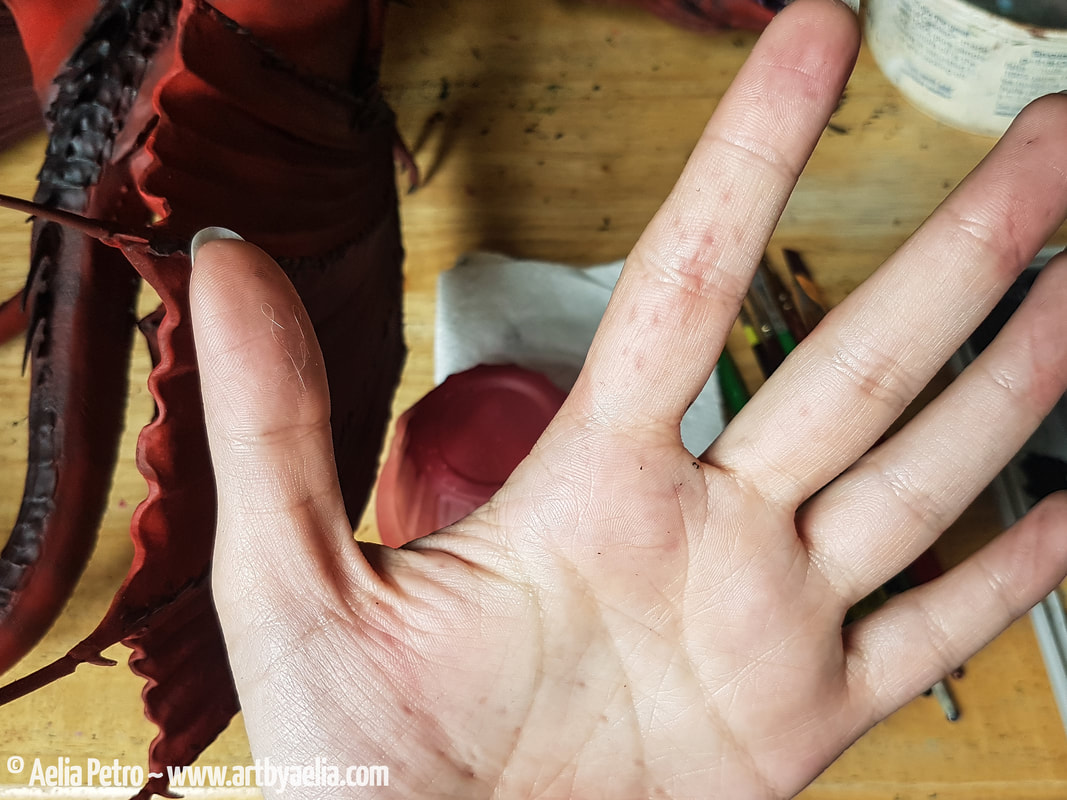
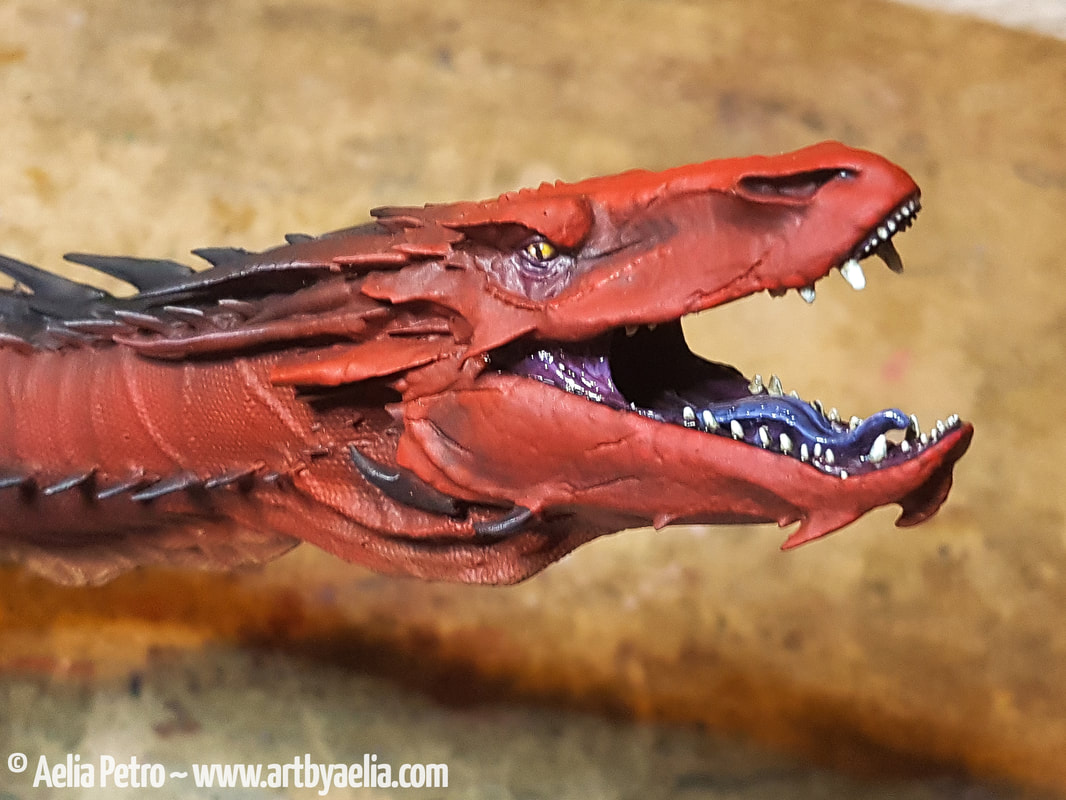
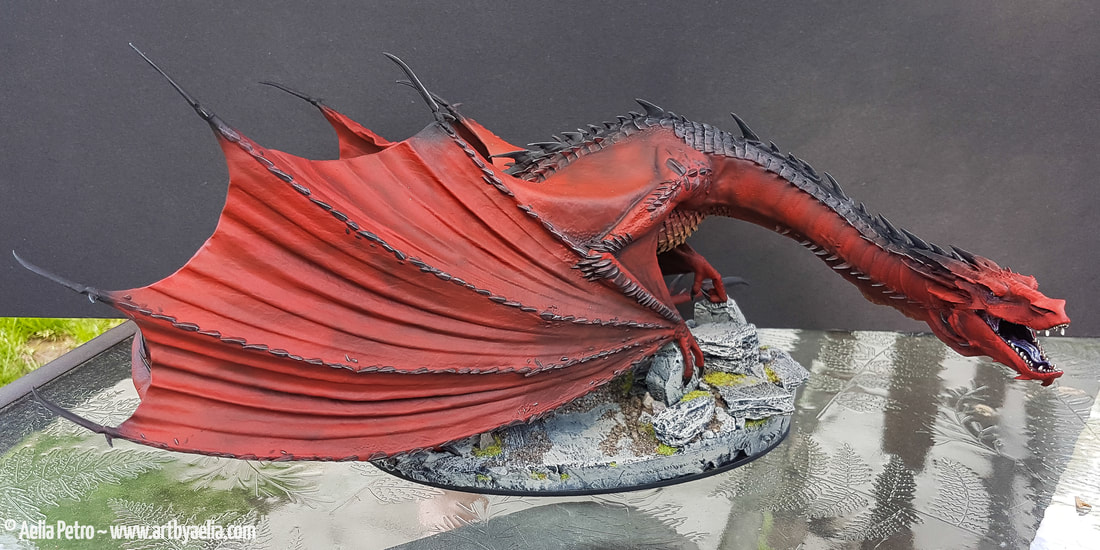
Holding Smaug proved to be one of the biggest challenges. I didn't want to paint in pieces and assemble afterwards because matching the blends to fill the gaps would have been impossible. It would have made some things a great deal easier however... getting a grip on him to access different parts was difficult and sometimes painful. You can see some of the little dents in my hand from his spines above. The mouth was a lot of fun to paint, I used a variety of shades of purple for the tongue and gums. The teeth were first painted brown, then a tan, then white, so that they looked suitably aged and shaded. I picked out a lot of face scales by hand with a liner brush, but it's difficult to see them in the photo. The entire dragon was varnished with Testor's Dullcote (my personal favourite varnish), and then I glossed the eyes and mouth to make him a little more life-like.
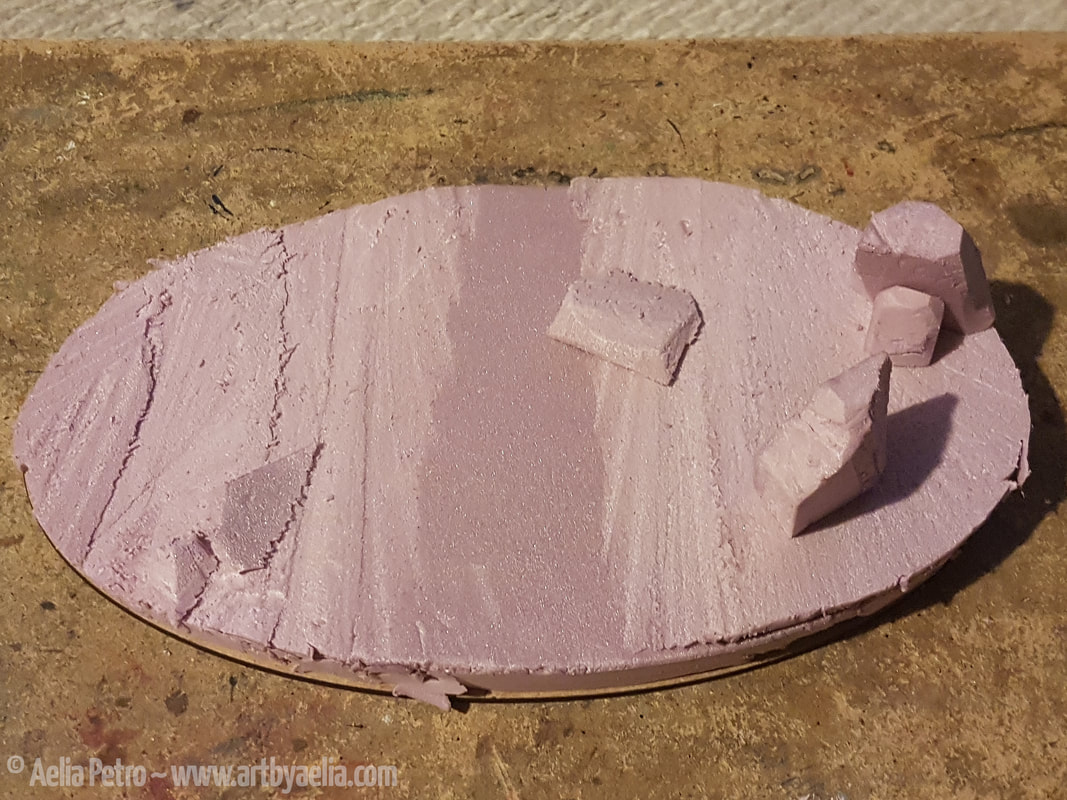
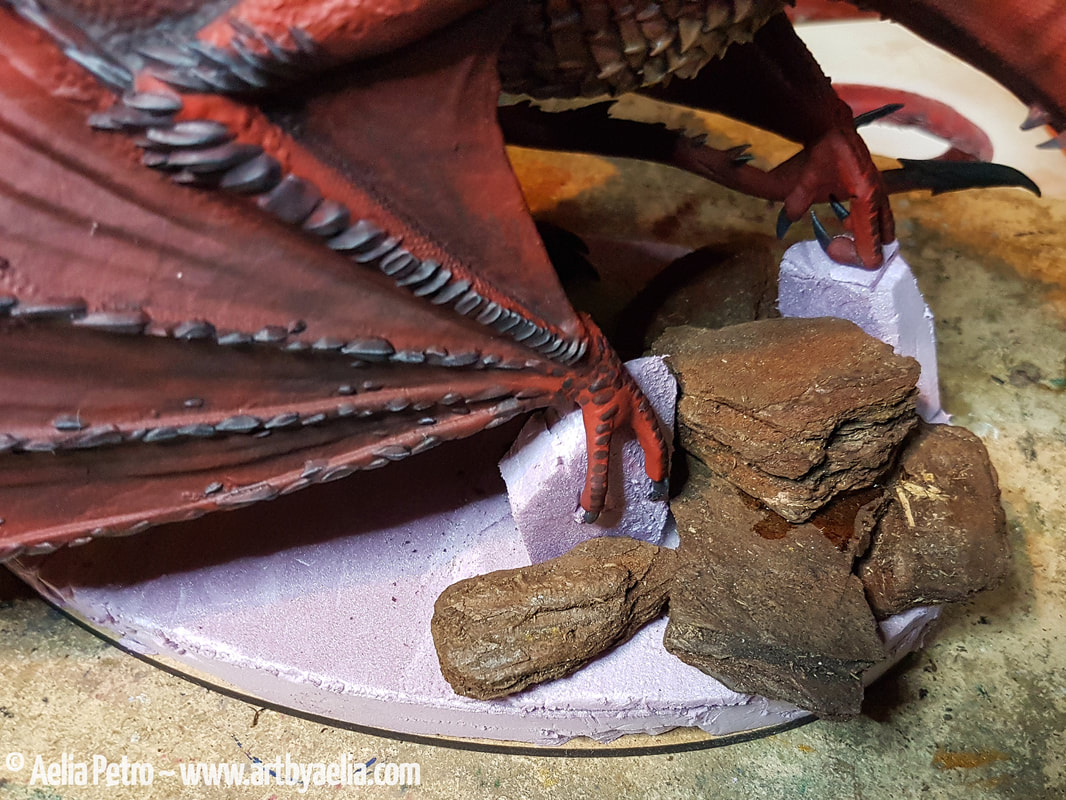
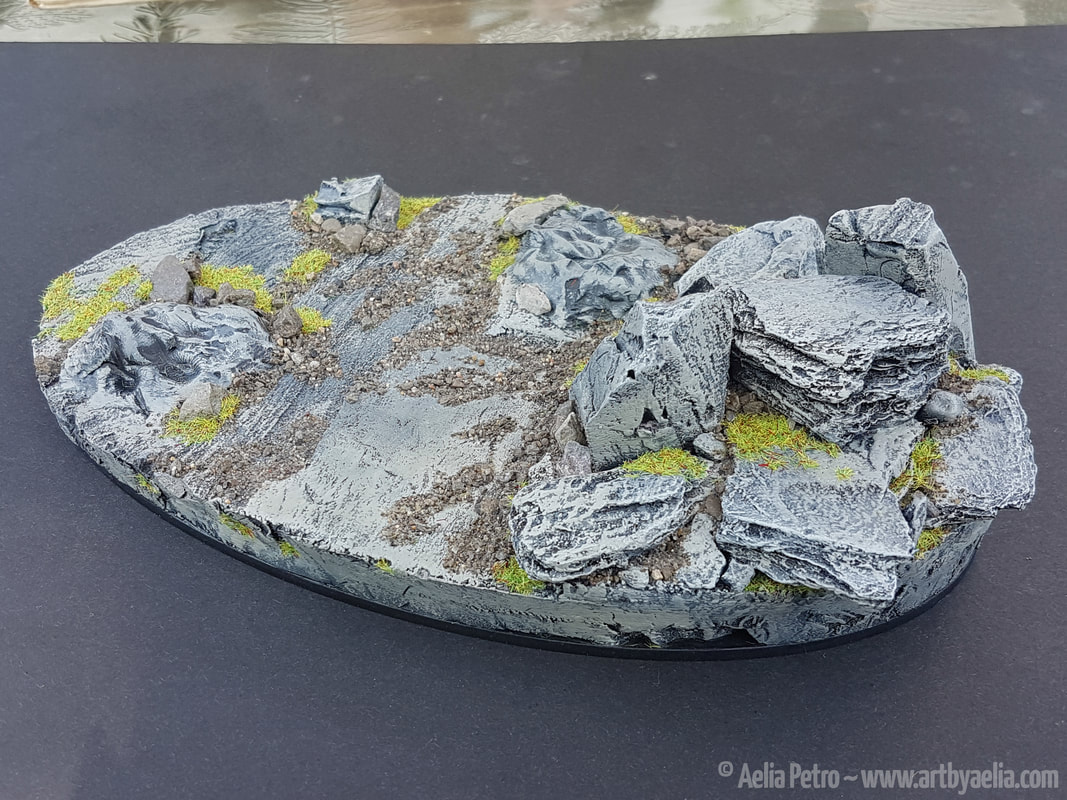
The finished base! I painted in several shades of grey, and then added some natural sand and stones to vary it up. I also added flock. Here's the finished Smaug on his custom base!
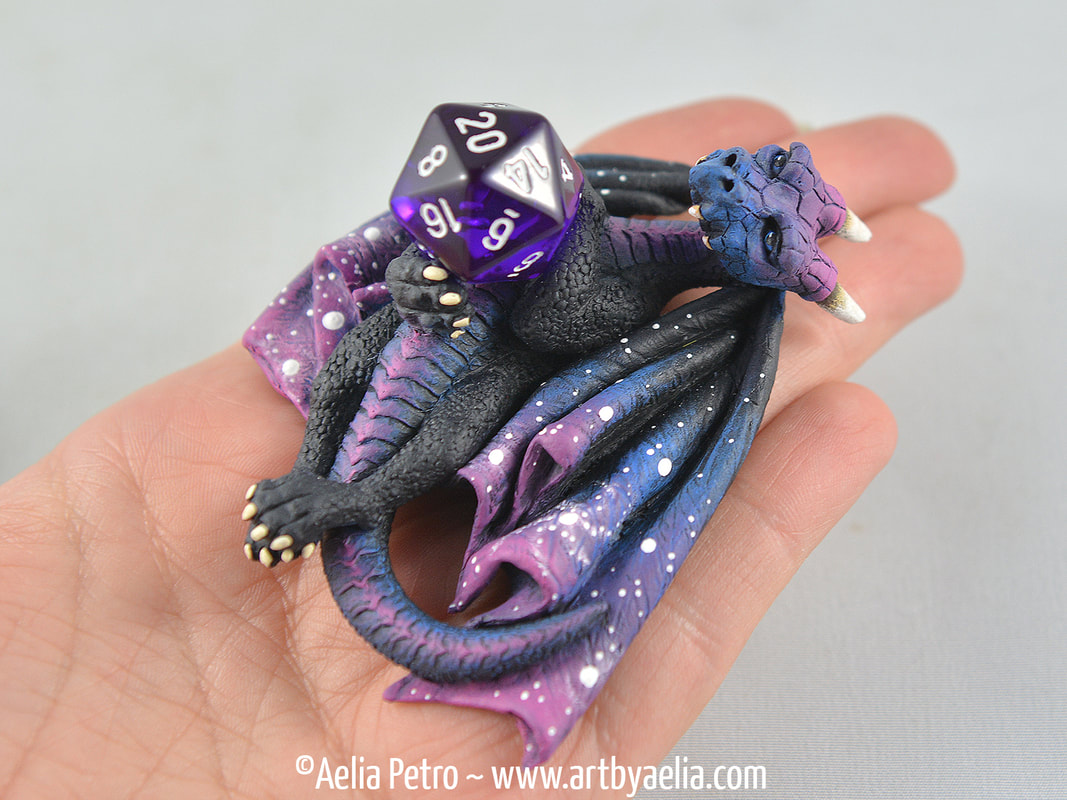
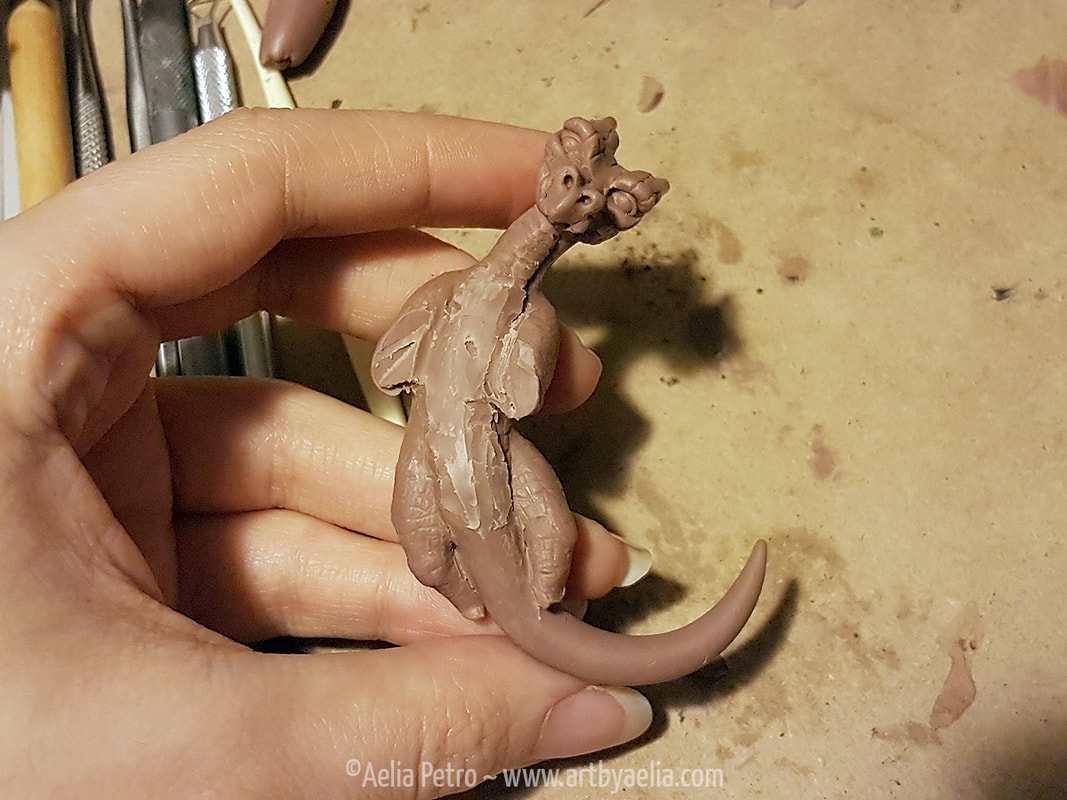
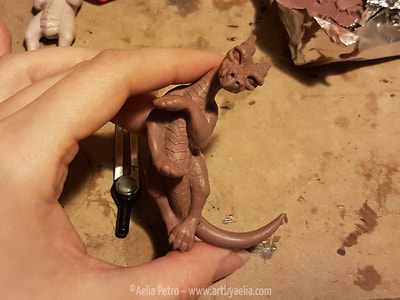
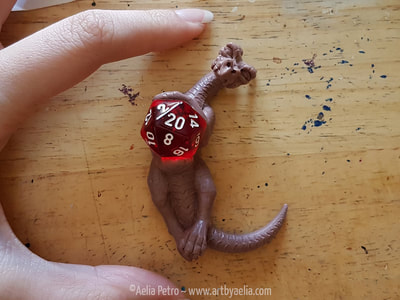
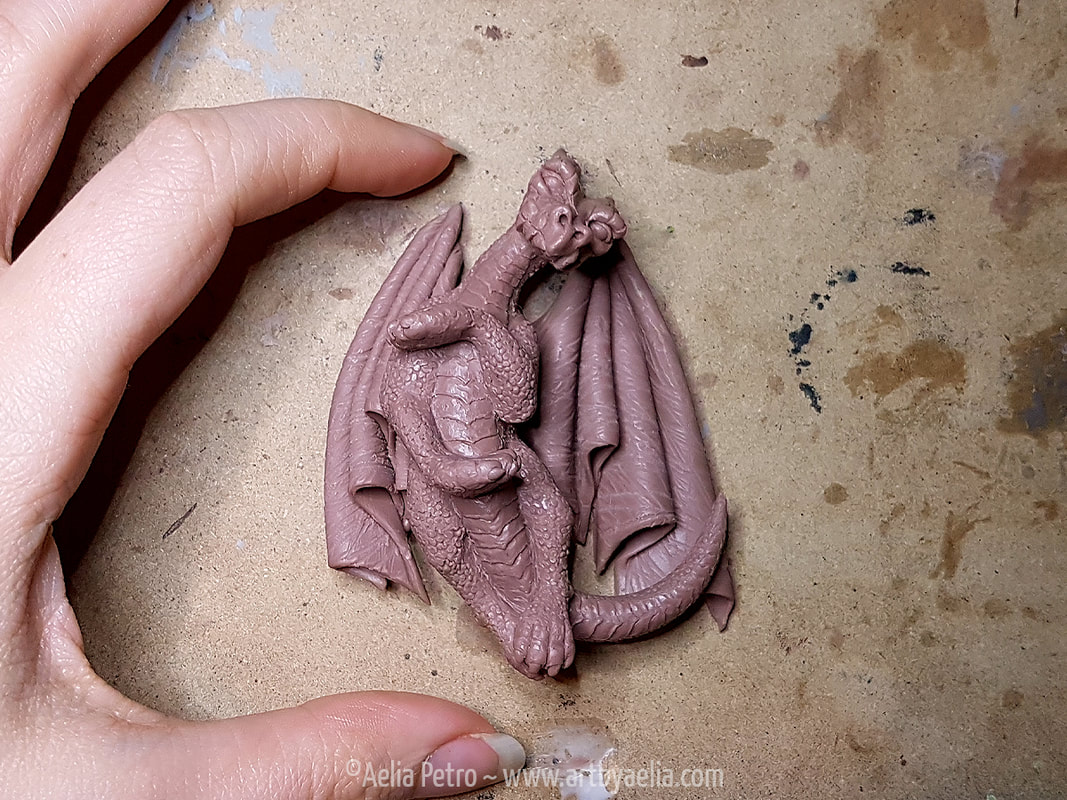
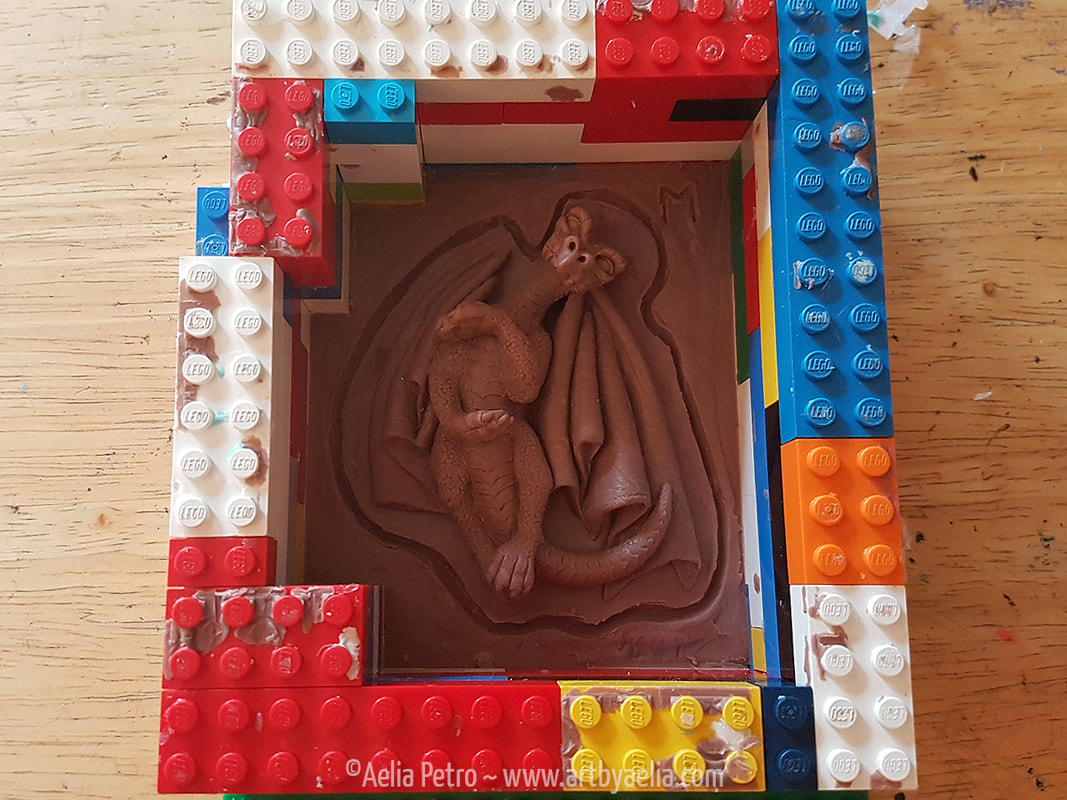
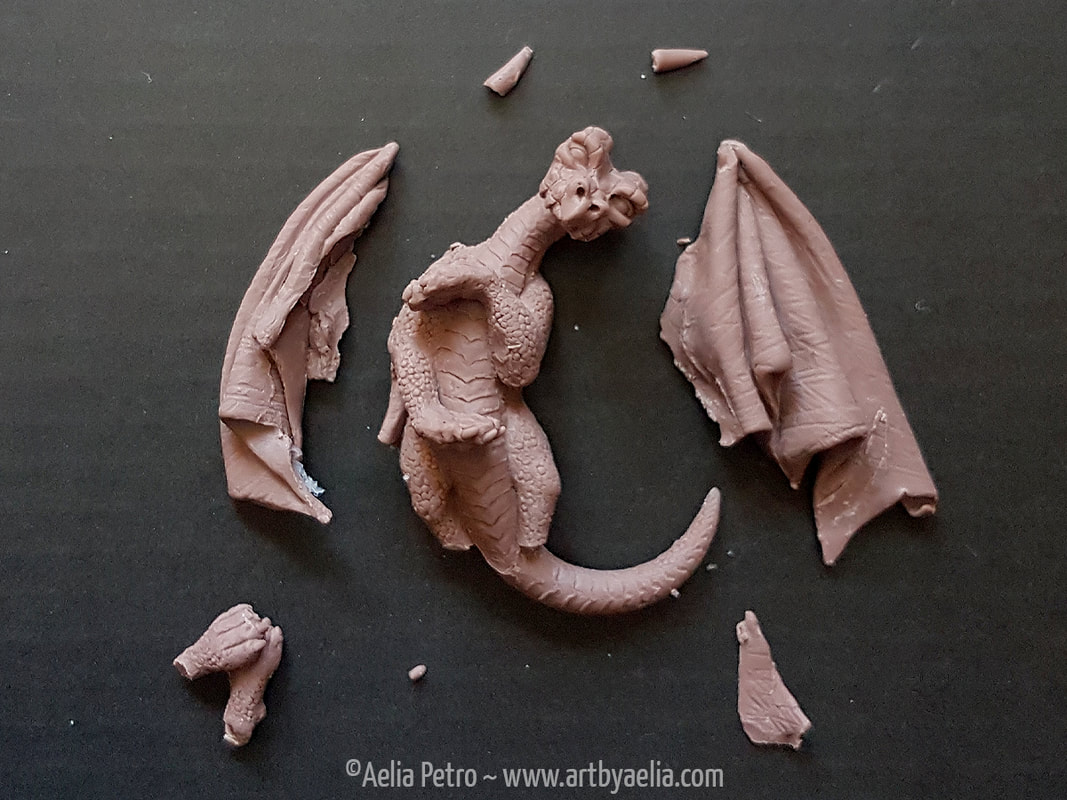
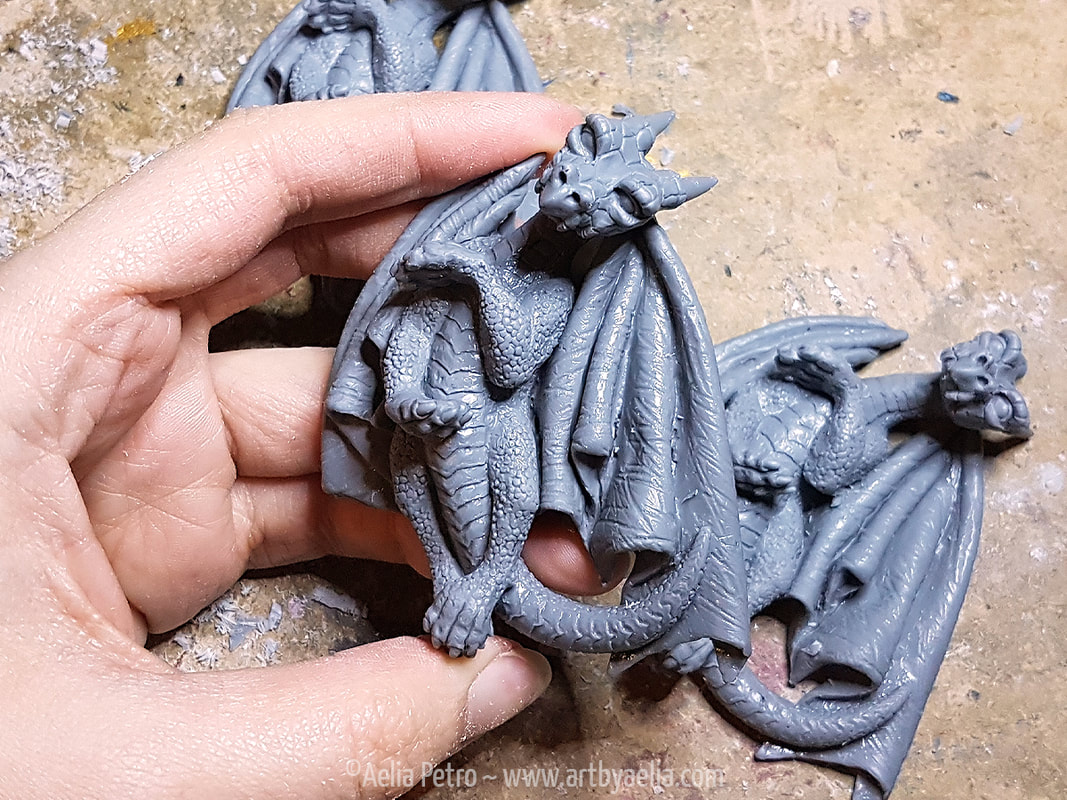
Dice Dragons have been on my to-do list ever since I sculpted my first dragon! I wanted to wait until I had more experience with the anatomy and textures before giving it a shot though. Here's a quick walk-through of the process!
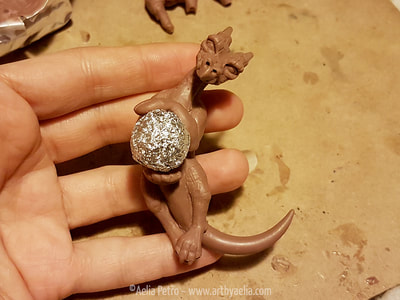
Since I intended for it to hold a D20, I made a D20-sized ball of tin foil to use to get the pose right. With a great deal of fiddling, I had a pose I was happy with. Then I began working on the details, using very small tools. The hands were a particular challenge, so they were adjusted and readjusted dozens of times before the sculpt was finalized.
Below is a gallery of photos of my first 3 Dice Dragons! I am beyond thrilled with the way these have turned out, and look forward to making them in more colours :) |
AuthorThis is a blog for my artistic endeavours... as I experiment with new mediums, styles, and techniques, I'll post here. Archives
June 2020
Categories
All
|
All content is © Aelia Petro

 RSS Feed