Art by Aelia
  • Home
  • Shop
  • About
  • News
  • Social Media
  • Portfolio
    • Digital Art, Traditional Art & Photography
    • Jewelry
    • Logo Design
  • Print on Demand
    • Print on Demand Animal Shirts
    • Zazzle Referral Program
  • Blog
  • Contact

I am fire... i am death...

30/5/2018

0 Comments

 
Picture
I finally did it... I assembled and painted Smaug. I've had the model for months, but have been too intimidated to give it a go. With a 1000 point all-hero tournament coming up, my ever helpful boyfriend suggested that I break out this beastie. I immediately loved the idea, and hated the fact that it would force me to work so quickly (for me, that is a VERY short timeline). Probably for the best, since otherwise this model probably would have been completed in spurts over the course of months lol... and thus, with 16 days to go before the event, I got to work! 

FYI.. Games Workshop states on their website: "This miniature is not recommended for children under the age of 14. Advanced modelling skills are required". This is no joke. I've been painting models since I was 2, and modelling for decades, and this guy was a serious challenge. If you want to do him justice, there can be no short cuts, and he is not beginner friendly. You'll need a shape blade in your x-acto, a couple of solid glues, a metric crap-load of filler (Milliput or Green Stuff, or what-have-you), and a great deal of patience. He will surprise you. He will test you. He will break. You will break. But with perseverance, you will wind up with an unbelievably gorgeous centerpiece to your collection. 
I started by trimming and washing all of the pieces with dish soap. This step is super important with resin model kits, as there is often mold release on the surface which impacts paint adhesion. Also gives you a good excuse to double-check that you didn't miss any mold lines. Test-fitting all of the pieces is also a good use of time. You want a good idea of where gaps will be. 
Picture
Picture
Check out that mold line! It's like a horrible little cliff. Can't simply be trimmed, must instead be filled and tapered with milliput or green stuff. 
Picture
THAT GAP THOUGH. And it's not even the worst one on the model. Actually one of the best. Yarg. 
Picture
I started assembly with the torso and legs. The gaps on the legs were among the worst on the model. You'll want to test fit EVERYTHING carefully. Without some creative trimming, one leg would need to be glued on before the wing, and one leg would need to be glued after (or else they wouldn't fit). I trimmed to avoid this. I used both 5-minute epoxy and super glue to affix the legs prior to beginning to fill the gaps. I also made a texture stamp to transfer an exact copy of the scale texture to the sculpted filler.
Both of the sets of connected spines on the back were warped badly, neither would fit in their intended places. I used a hair dryer to warm the pieces and then moved them into the correct position before cooling with ice water. You can see the degree of the warp prior to repair in the photo to the right. Always check the fit before you mix your glue!
Picture
Picture
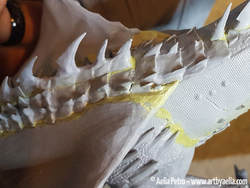
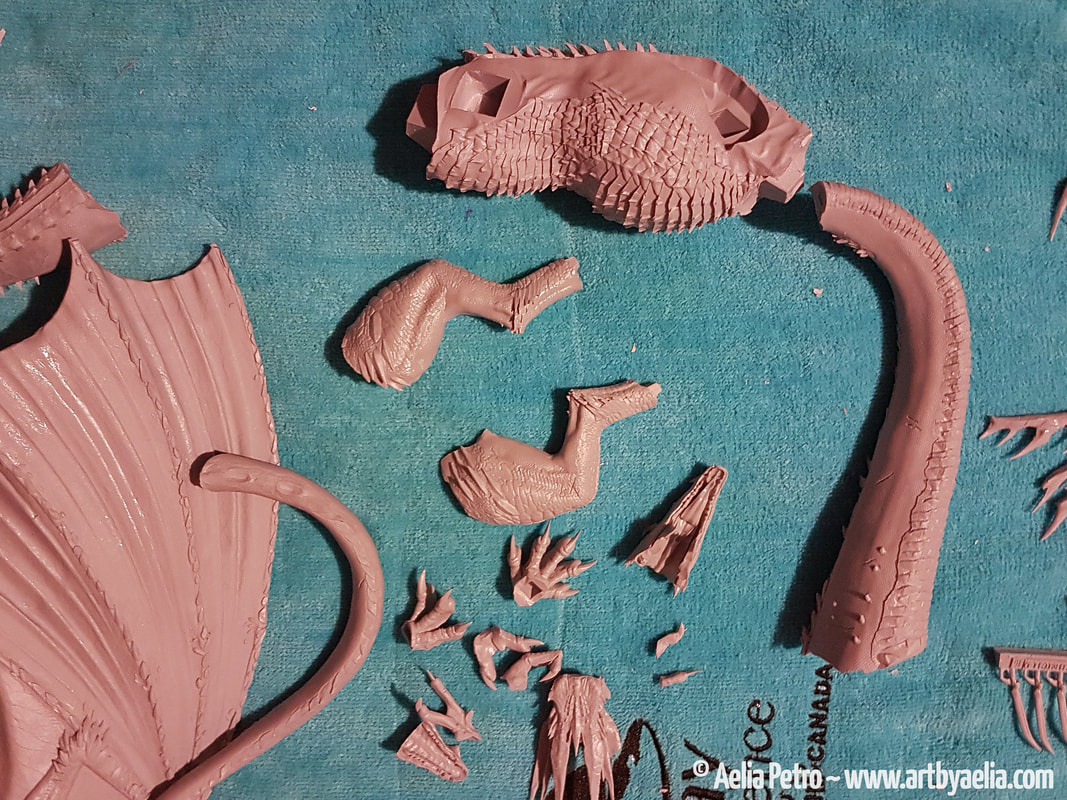
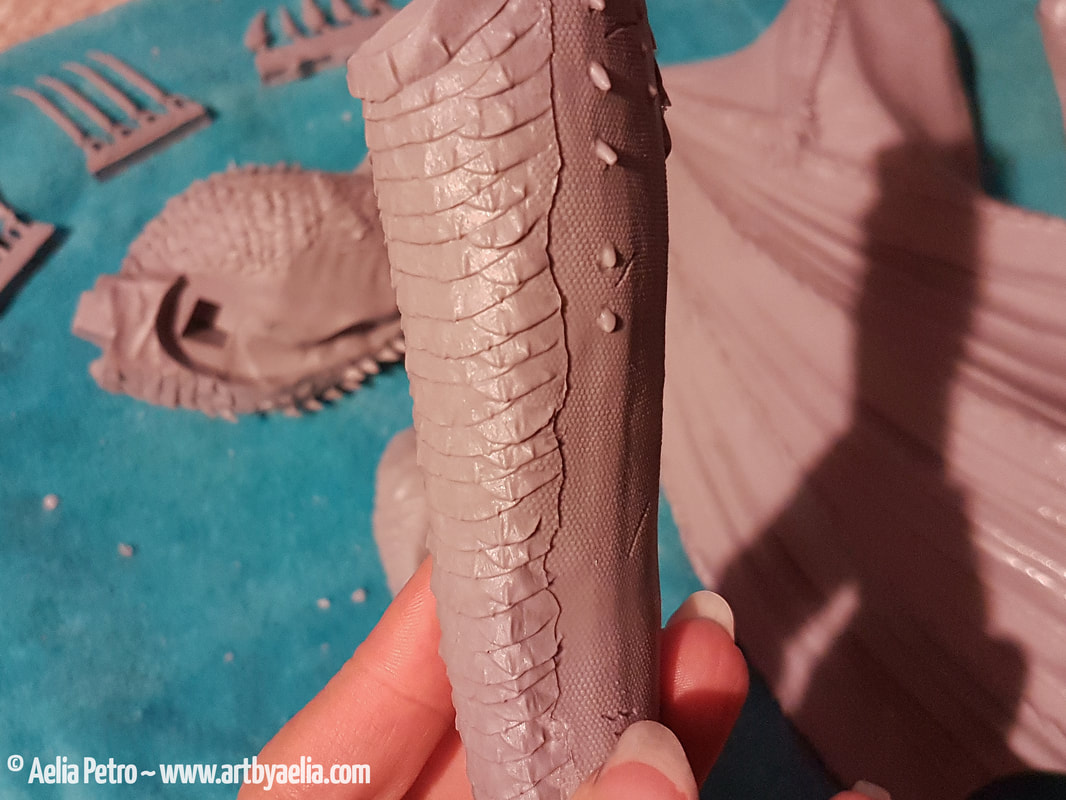
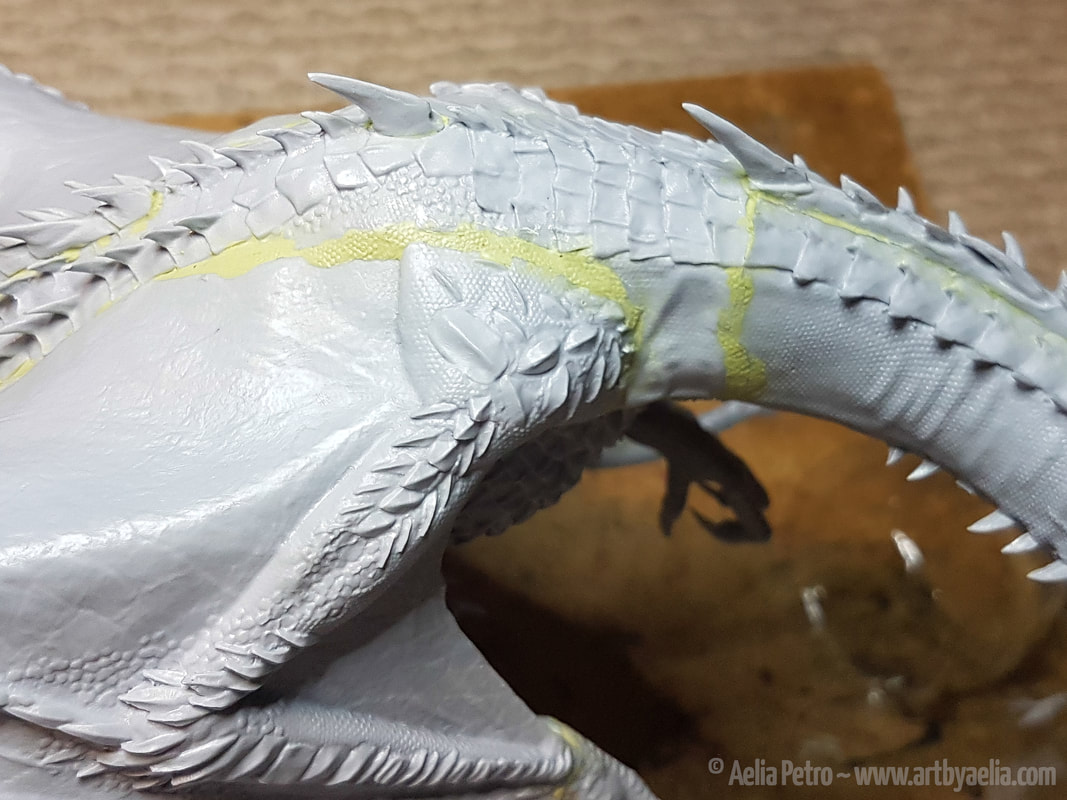
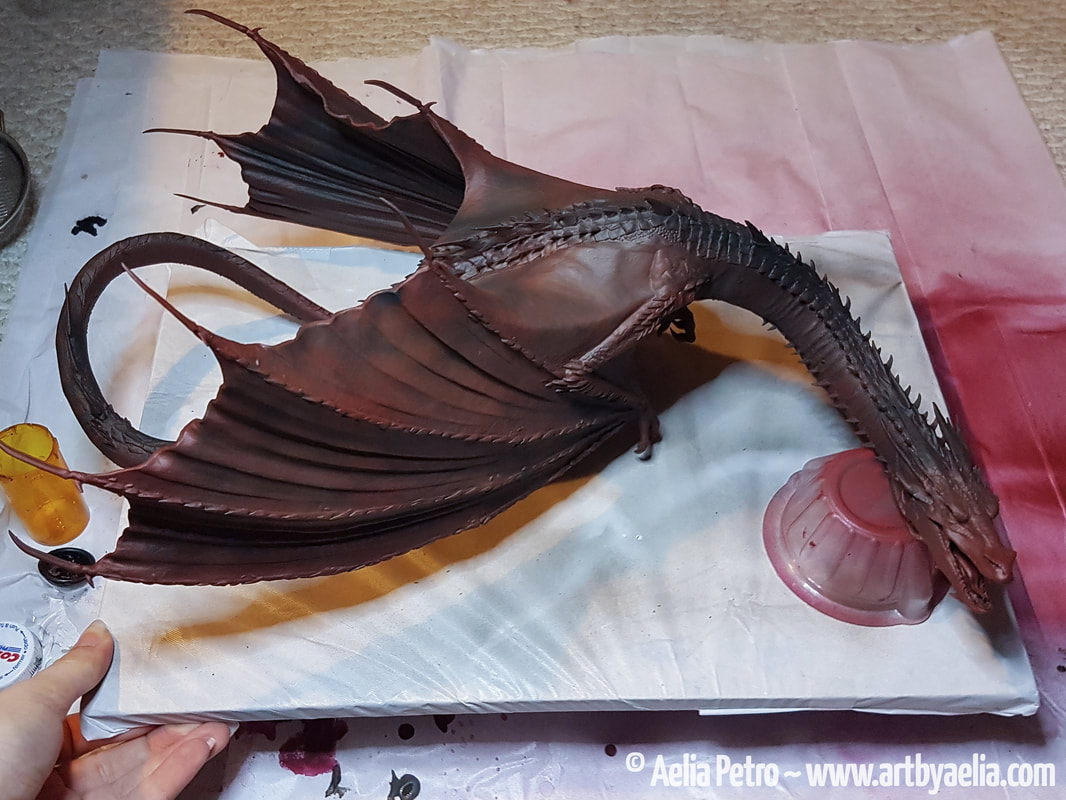
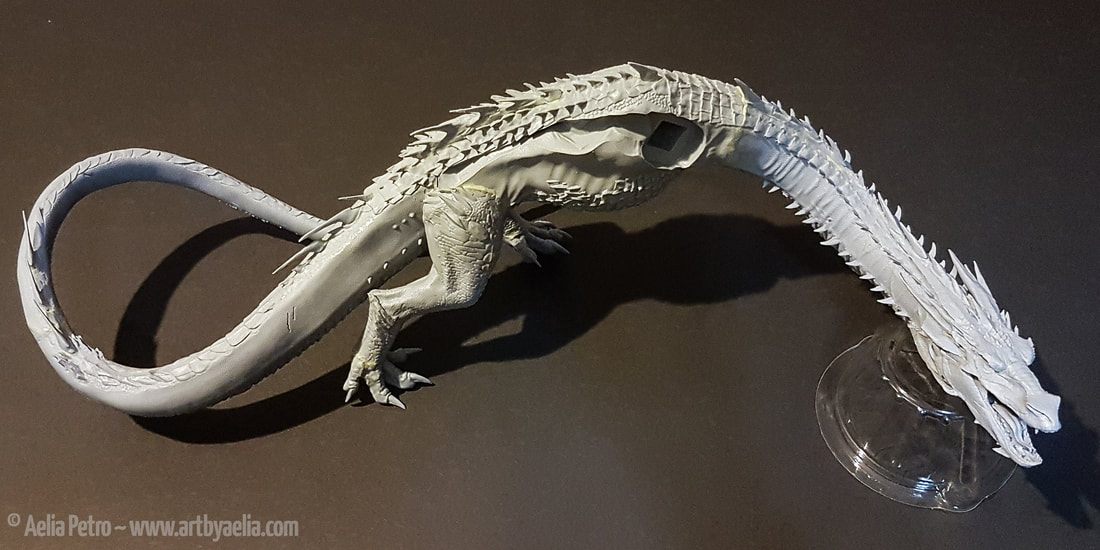
Next I assembled the head and filled the gaps in those pieces. I followed by gluing the head to the neck, and filling the gaps that followed. Then the neck and tail were attached to the body. Gaps aplenty. The texture stamp I created was helpful for maintaining the scale pattern in the newly sculpted areas. 
Picture
Wings next! I started by attaching the spines on the wing "fingers", since there were even gaps on those small pieces, and they'd be nearly impossible to fill once assembled. Heads up, the spikes on those wings will break. I've already had them break 3 times, and I've been careful. The wings took an absurd quantity of glue, and yielded the worst gaps yet! 
Picture
Here you can see the milliput gap repairs, including some of the newly sculpted scales. The texture was a big help in disguising the problem areas. They proved to be nearly invisible when painted, which was a big relief after all the aggravation!
Picture
Picture
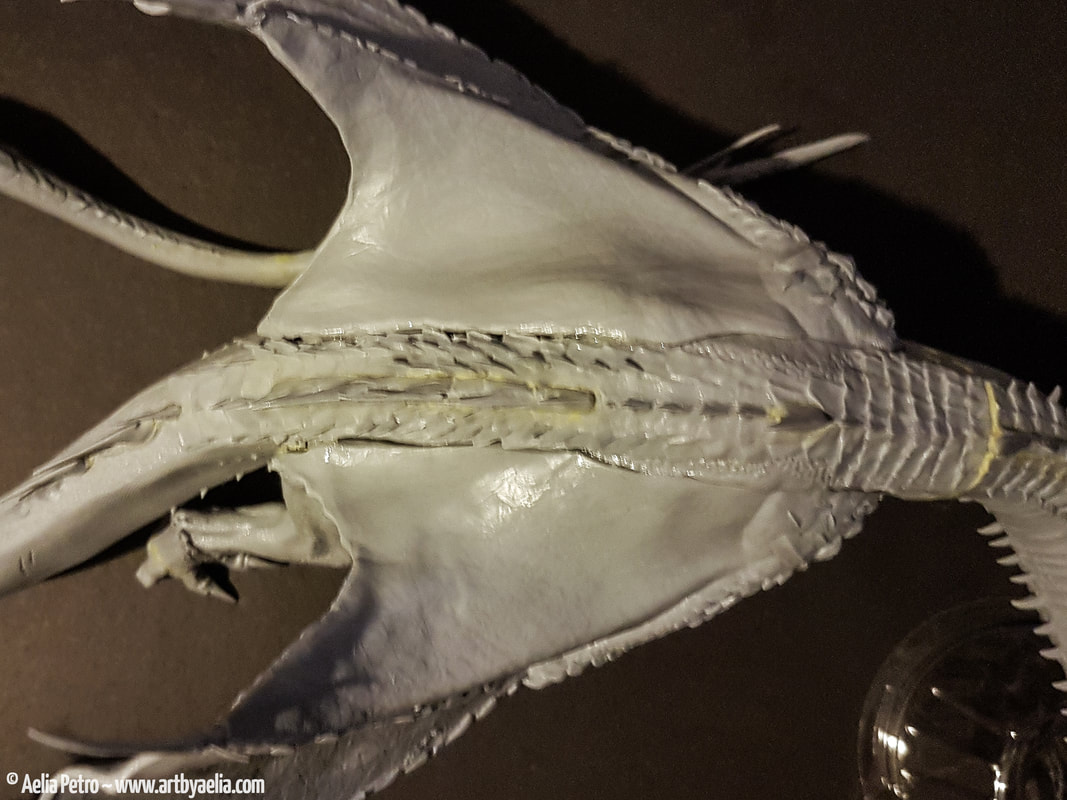
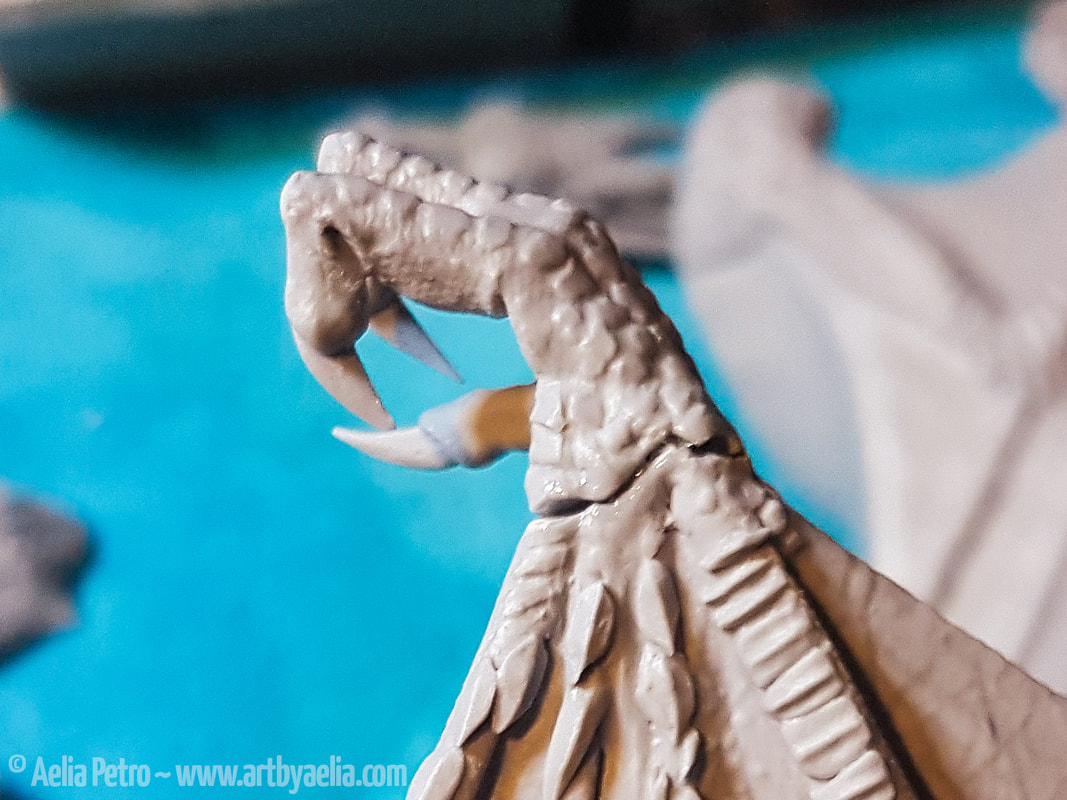
More repairs and texture matching in progress. There was a massive space between the end of the wing and the side of Smaug's body, which had to be bridged. 

Picture
Time to base coat! Decided to go with a flat black spray paint, because I wanted to paint from dark to light. Took a couple of passes to get paint into all of the difficult areas. I can honestly say I was so excited to get really painting that I sat and watched him dry. I literally watched paint dry so that I could paint faster. The excitement was real having gotten this far!
I decided to use an air brush for the base coat of dark red. This saved me a huge amount of time over hand-painting (probably hours). I then began breaking up the flat red with ribbons of several shades of brown. I also started to add veining on the wings, and to darken the spines along the back and on the face. Although dark, the colours were taking shape. 
Picture
Picture
The next process involved several increasingly lighter and brighter shades of red. I left the leading edge of the wings dark, and got lighter towards the trailing edges of the wings. I also lightened the face, and the sides of the neck, torso, and tail. Getting at the legs was difficult, but not impossible. Holding him proved to be the real challenge! 
I wanted to bring back the veining and some patterning on the back, neck, and tail, so made another pass with the black paint. I really liked the look of the stripes, and the way they broke up the giant red mass that he was becoming. I was *almost* satisfied, but wanted to bring the brights back up in certain places. 
Picture
Picture
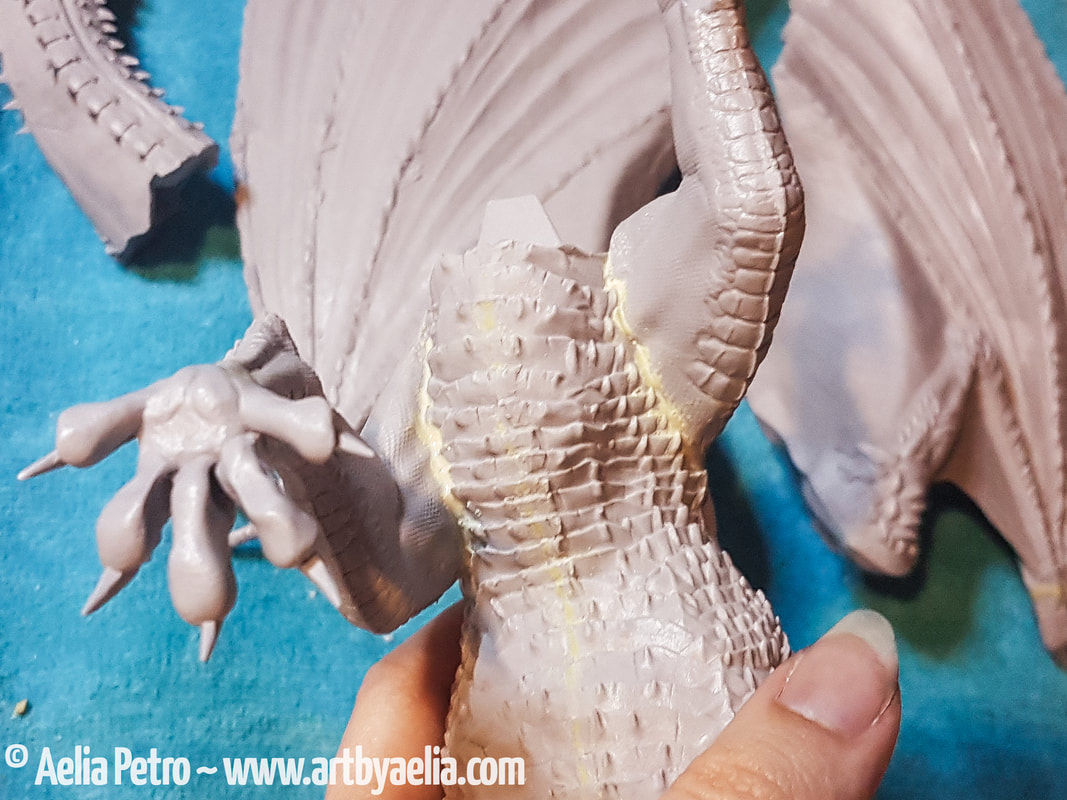
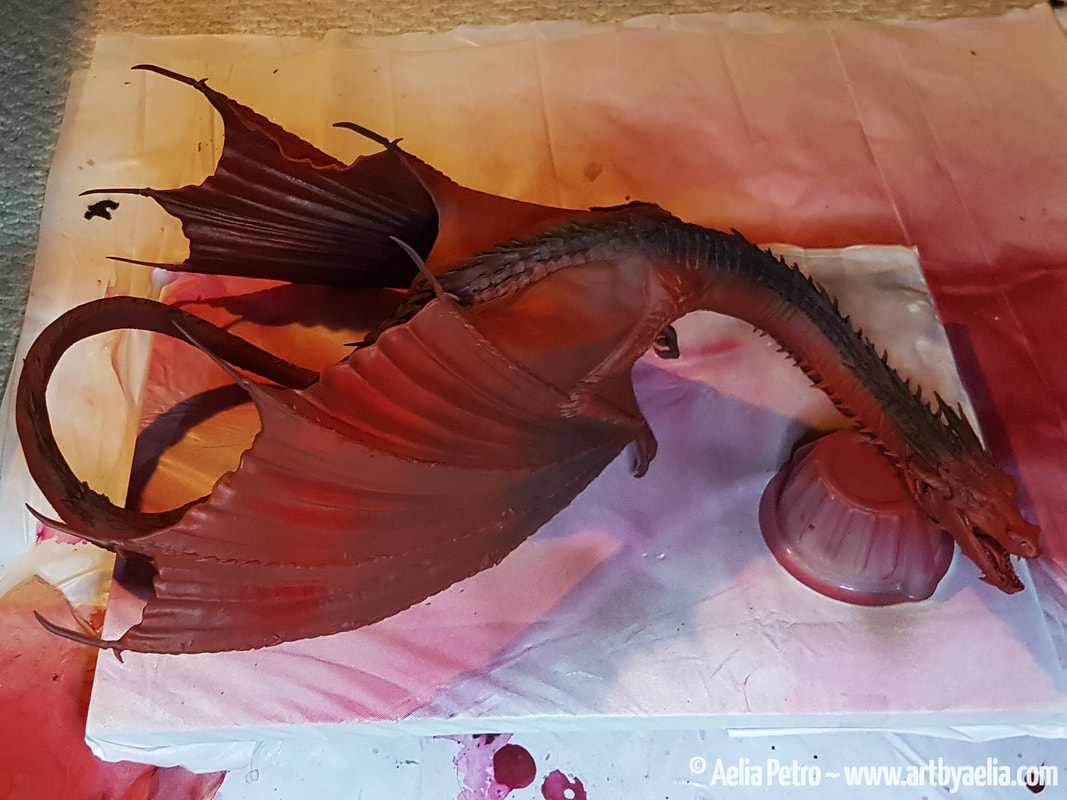
Belly scales were next, and the pressure was on! I wasn't expecting to be so happy with the outcome of the air brushing, so getting the belly to a place I was happy with was difficult. I used a combination of airbrushing, dry-brushing, washes, and edge highlights to get to this point. Several shades of tan and brown were blended using dry-brushing, blending into the red of the body. Both Agrax and Nuln washes came in handy. 
Picture
I started picking out the scales on the back, the spines on his neck, and the scales on his wings and legs next. I used thinned black paint so as to not obliterate the existing shading. As you can tell, I used my hand as a palette to test paint consistency and avoid having paint run everywhere. Looks messy, but it really helped! 
Picture
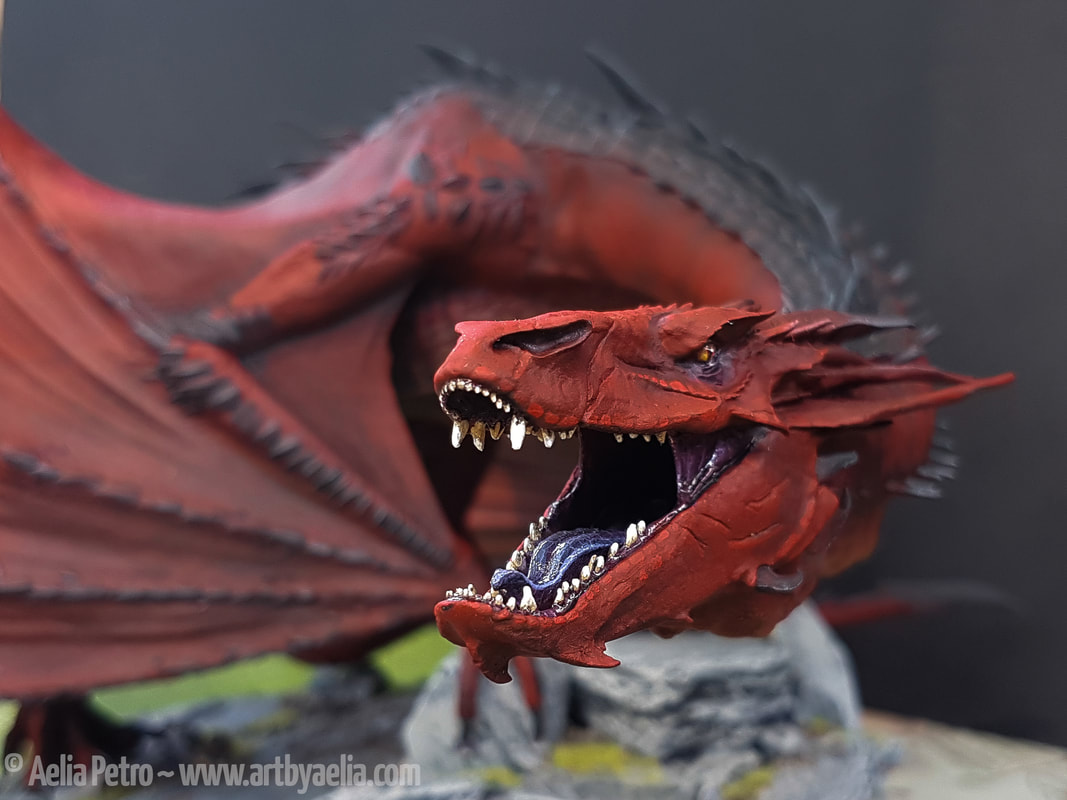
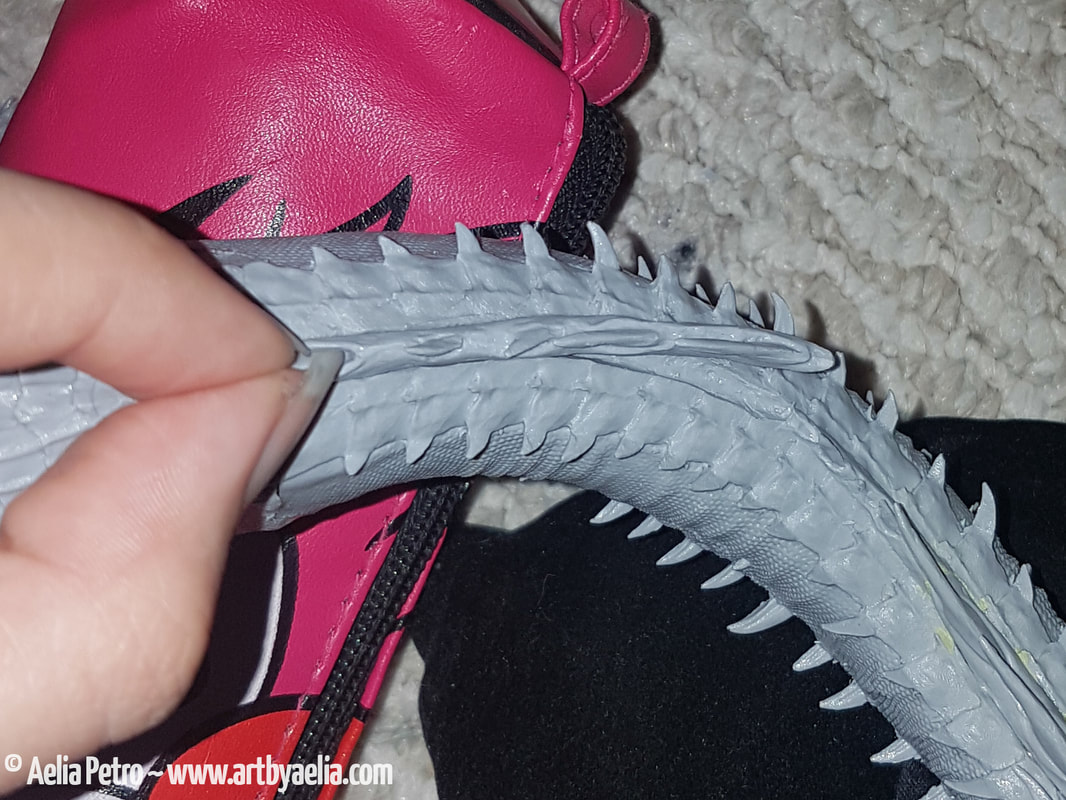
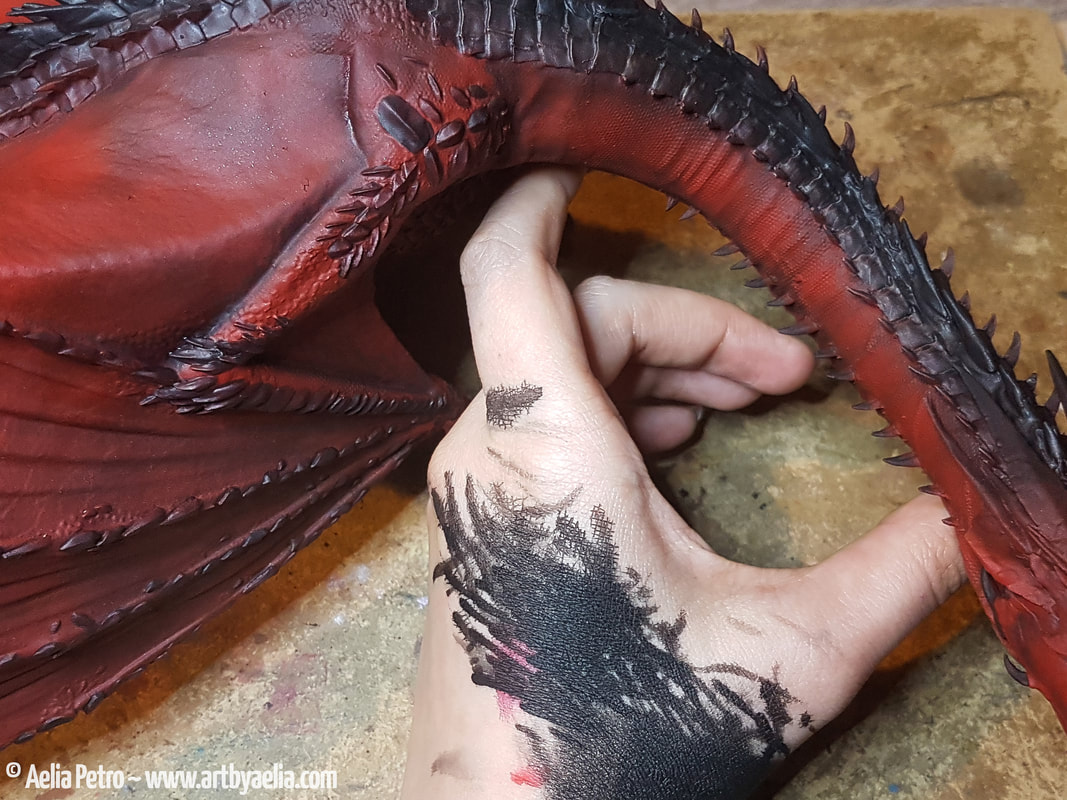
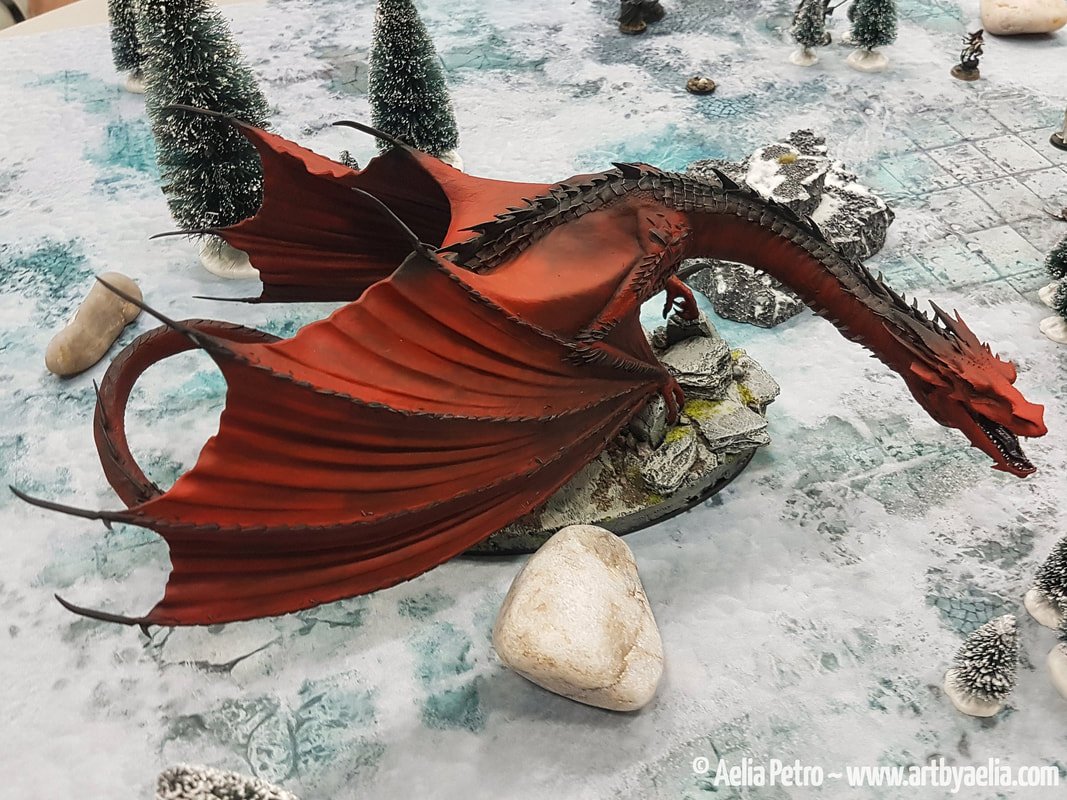
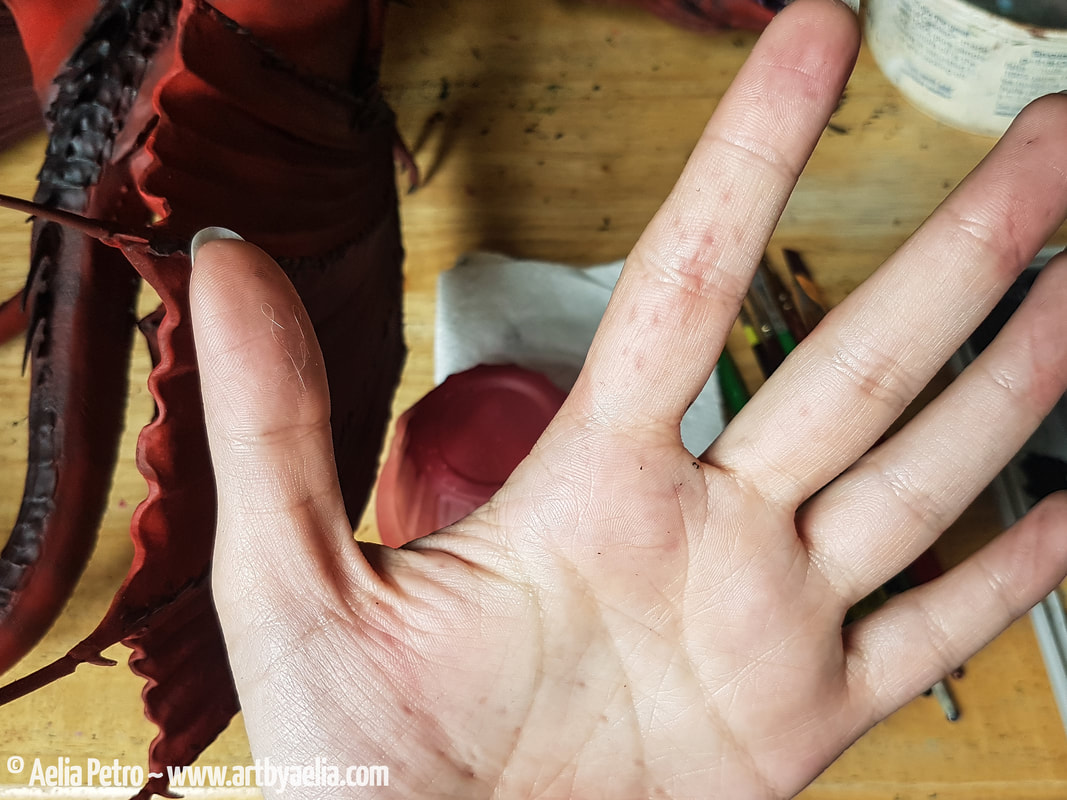
Holding Smaug proved to be one of the biggest challenges. I didn't want to paint in pieces and assemble afterwards because matching the blends to fill the gaps would have been impossible. It would have made some things a great deal easier however... getting a grip on him to access different parts was difficult and sometimes painful. You can see some of the little dents in my hand from his spines above. 
Picture
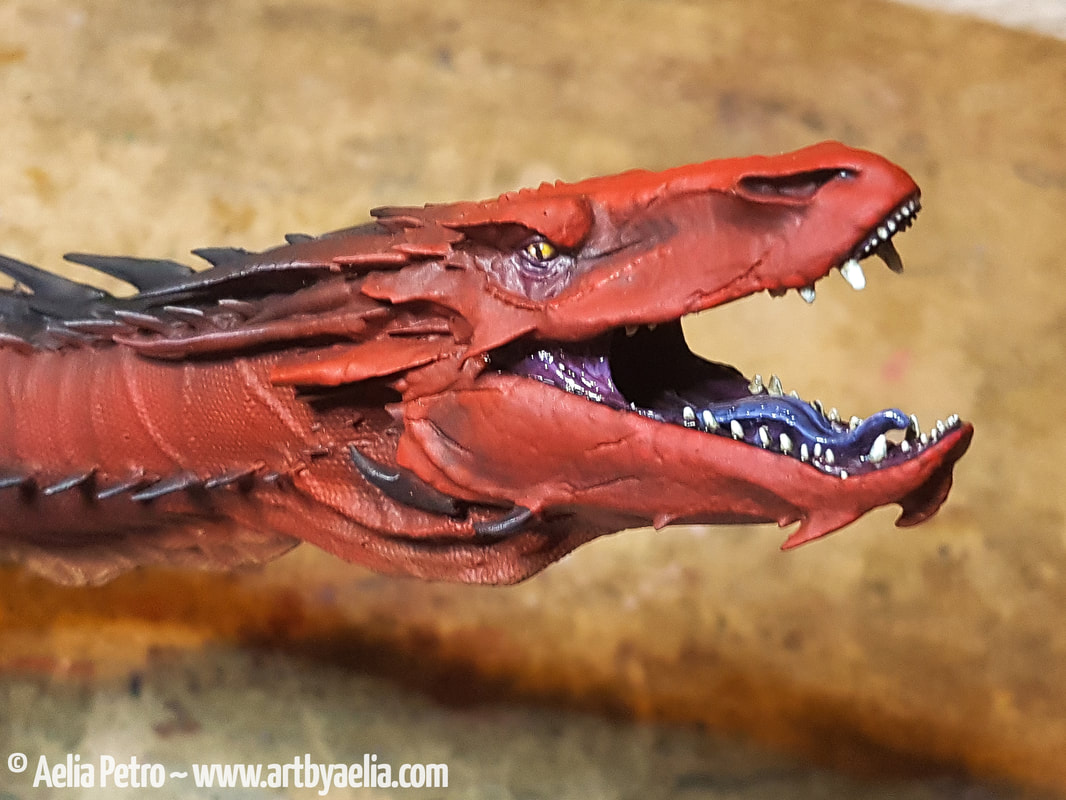
The mouth was a lot of fun to paint, I used a variety of shades of purple for the tongue and gums. The teeth were first painted brown, then a tan, then white, so that they looked suitably aged and shaded. I picked out a lot of face scales by hand with a liner brush, but it's difficult to see them in the photo. The entire dragon was varnished with Testor's Dullcote (my personal favourite varnish), and then I glossed the eyes and mouth to make him a little more life-like. 
I decided early that I didn't want to use the gold/treasure base. I wanted something more versatile, so got to work fabricating! I had a pressed-wood base cut in the exact size of the original, and then started carving up some foam insulation to get a sort of hill shape. I made several key stones out of insulation (anything that would be touching Smaug directly, such as the pieces his hands rest on). I also roughed out where his feet would go. 
Picture
Picture
Next I got a bag of bark nuggets to use as light weight boulders. They don't look like much, but all painted up they can pass for stone! I placed everything with the great beast in place, and then removed him to glue it all together. I used white glue and 5 minute epoxy to make sure that the base would stay together. 
Picture
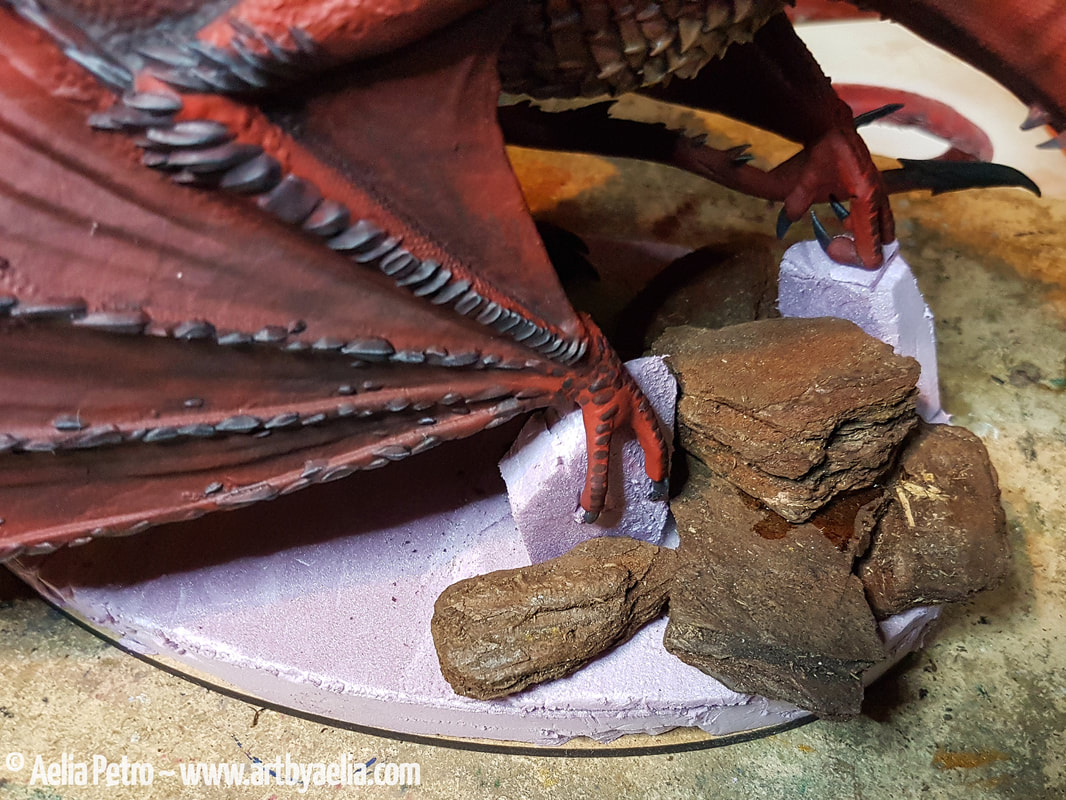
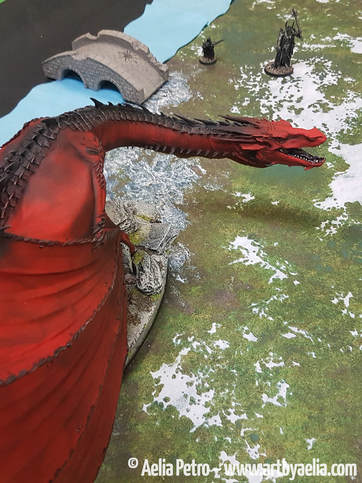
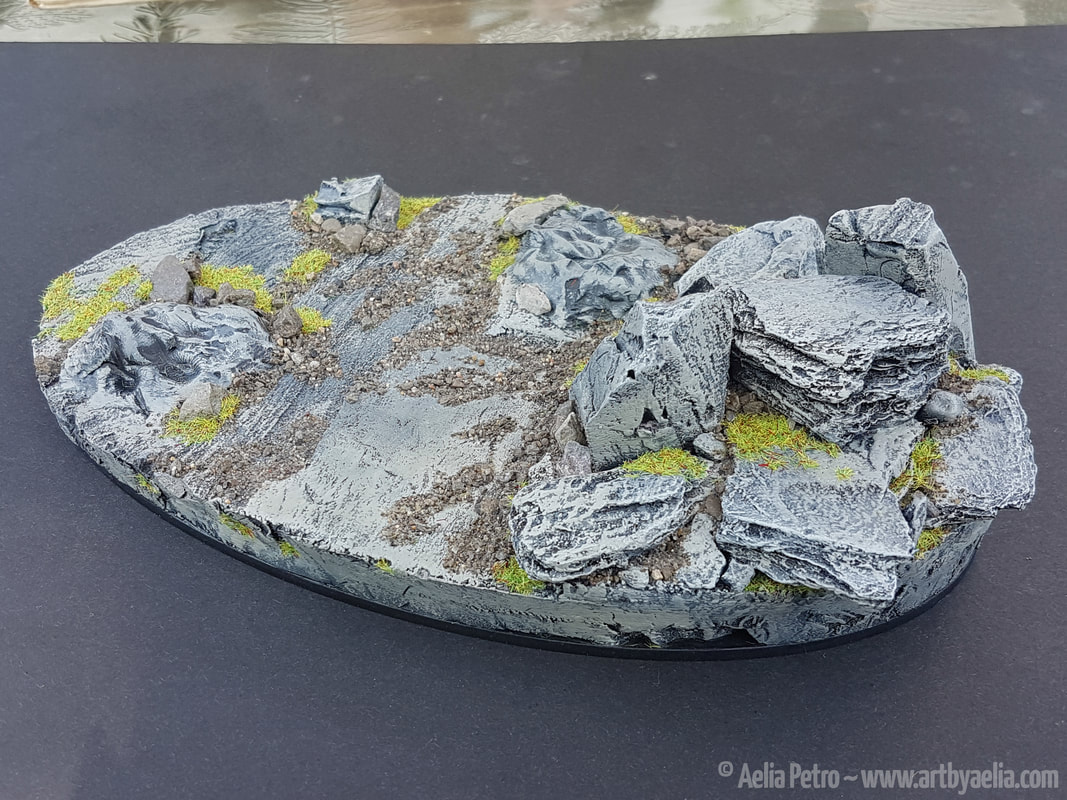
The finished base! I painted in several shades of grey, and then added some natural sand and stones to vary it up. I also added flock. 
Picture
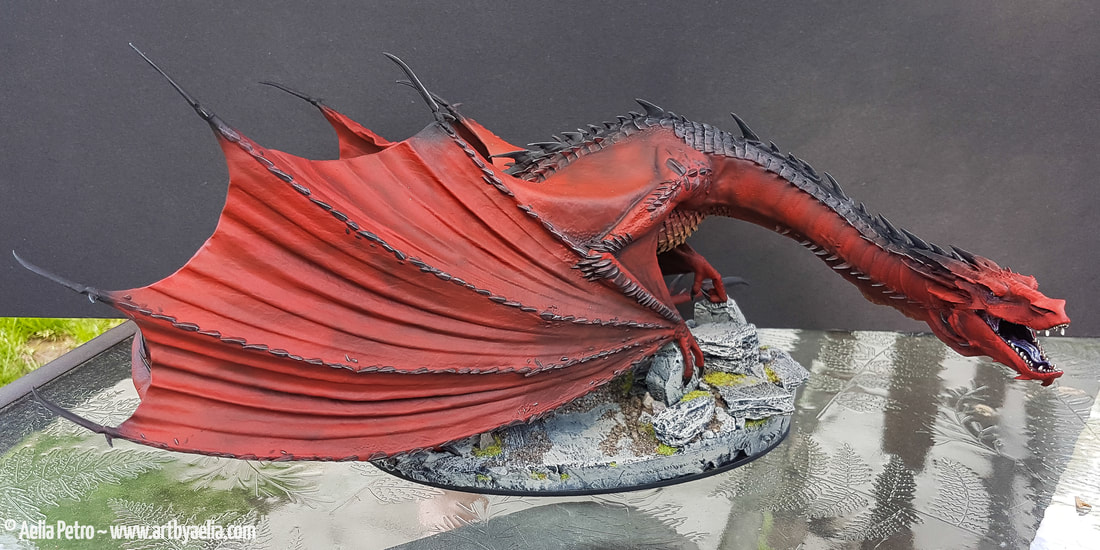
Here's the finished Smaug on his custom base! 
Smaug's inaugural battle took place 2 days before the event.  I paired him with 4 Nazgul of Dol Guldur (naturally sent by Sauron to recruit the dragon). Seeing him on the table was a real thrill! Against Sauron no less!
​
Below is Smaug in his first tournament battle. I finished with 2 wins, 1 loss, and a tie, which for me, is EXCELLENT... I'm usually making a run for wooden spoon. I am thrilled to say that Smaug and his Nazgul earned me best painted army for the event. 
Picture
Picture
0 Comments

    Author

    This is a blog for my artistic endeavours... as I experiment with new mediums, styles, and techniques, I'll post here. 

    Archives

    June 2020
    February 2020
    May 2019
    May 2018
    March 2018
    February 2018
    May 2017
    February 2014
    June 2013
    March 2013
    February 2013
    January 2013

    Categories

    All
    25mm
    Animals
    Behind The Scenes
    Big Cat
    Contest
    Dolphin
    Dragon
    Figure Painting
    Fluke
    Games Workshop
    Gaming
    Jewelry
    Labyrinth
    Lion
    Lord Of The Rings
    Mantic
    Marine Mammals
    Mars Attacks
    Mini
    Mini Painting
    Mold Making
    Orca
    Painting
    Passion Projects
    Pewter
    Resin
    Resin Castin
    Rpg
    Wargaming
    Warhammer
    Whale

    RSS Feed

Navigation

Online Shop

Jewelry (Including Necklaces, Charm Bracelets & Rings)

News

Social Media

Digital & Traditional Art (Digital Pet Portraits, Digital Paintings, Drawings)

Logo Designs (Logo Designs & Business Cards)

T-Shirts (Custom Designs & T-Shirts Available Through Redbubble)

Blog

Contact Me

Subscribe to my Mailing list!

* indicates required
/ ( mm / dd )
Email Format
All content is © Aelia Petro
  • Home
  • Shop
  • About
  • News
  • Social Media
  • Portfolio
    • Digital Art, Traditional Art & Photography
    • Jewelry
    • Logo Design
  • Print on Demand
    • Print on Demand Animal Shirts
    • Zazzle Referral Program
  • Blog
  • Contact