|
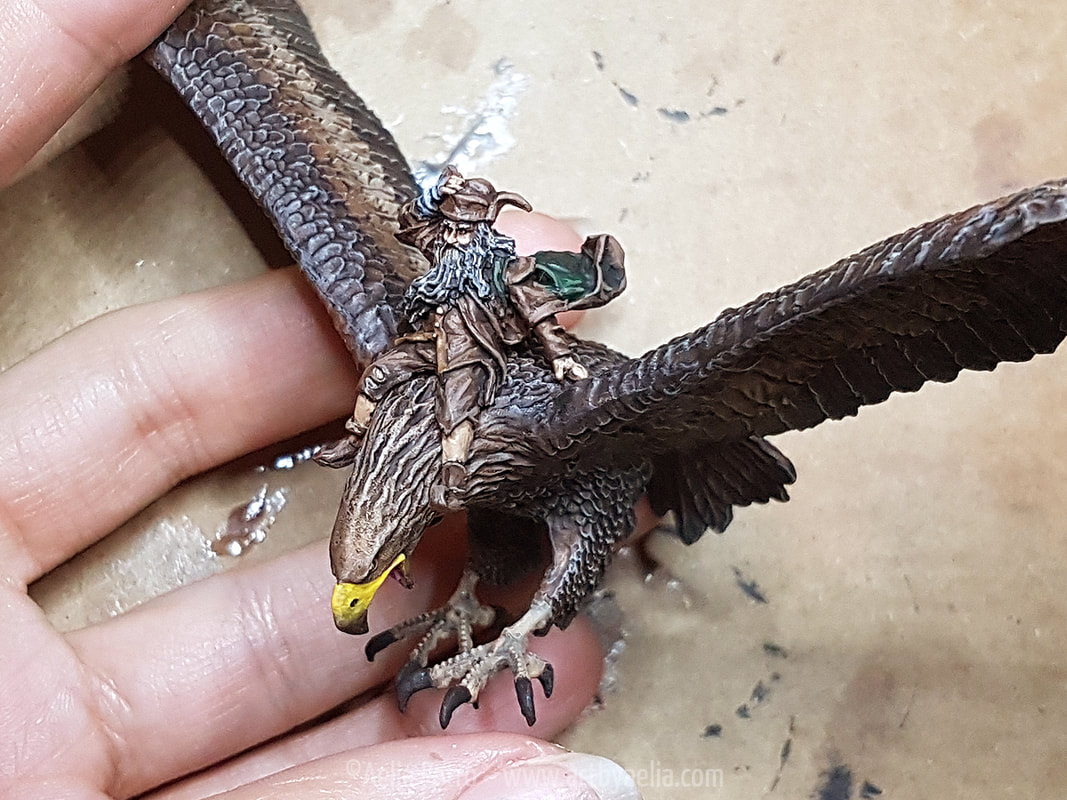
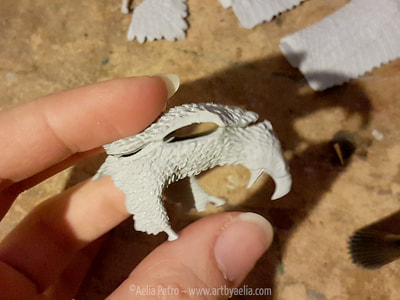
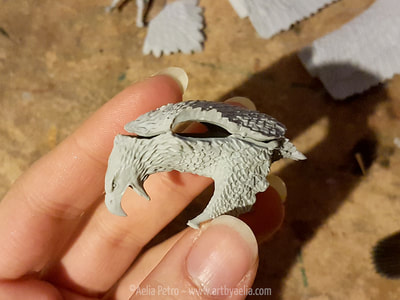
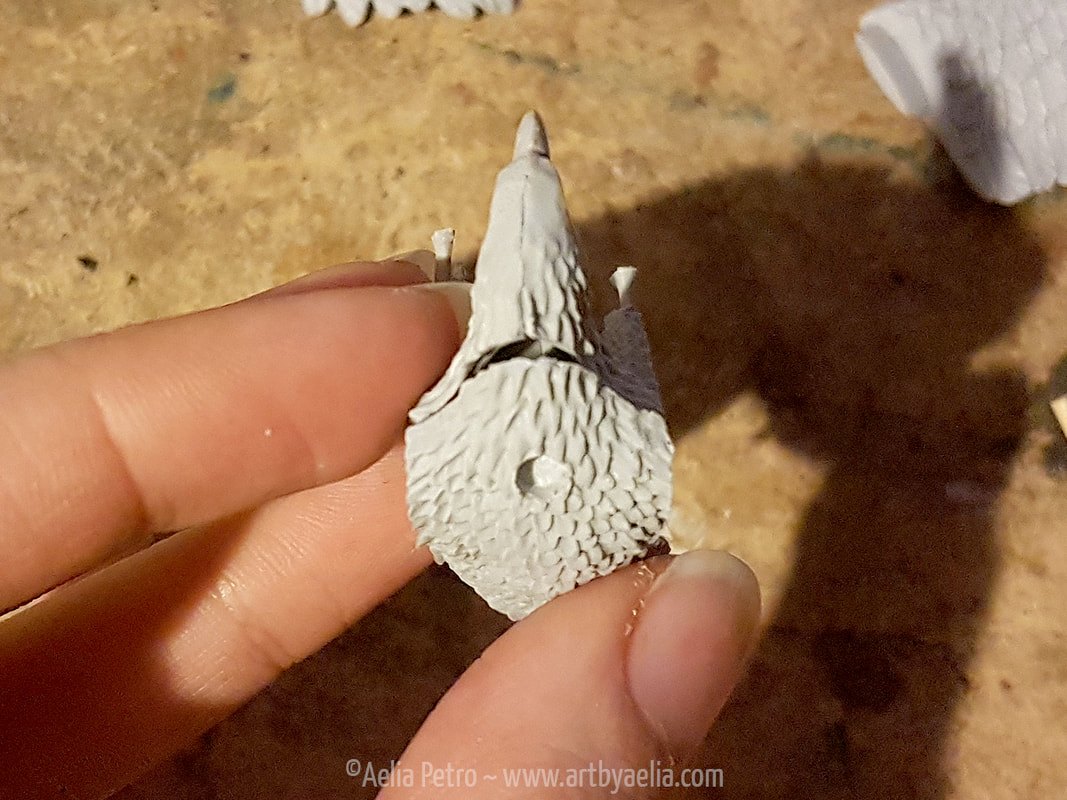
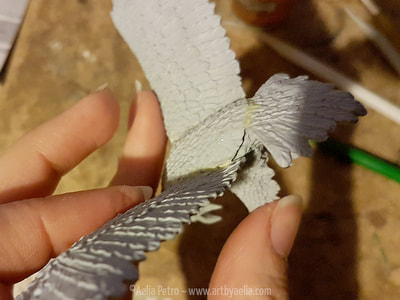
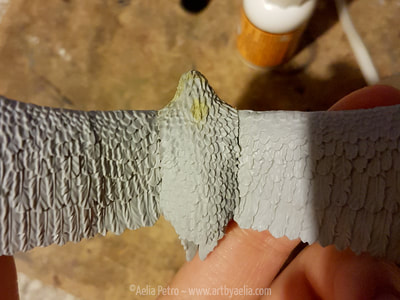
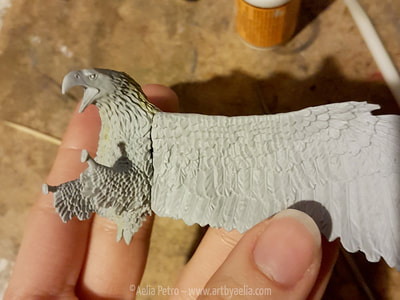
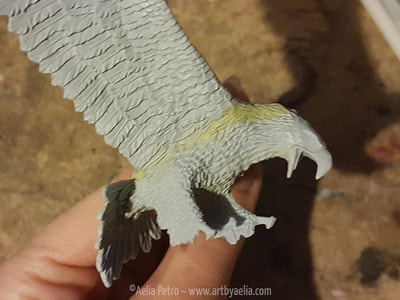
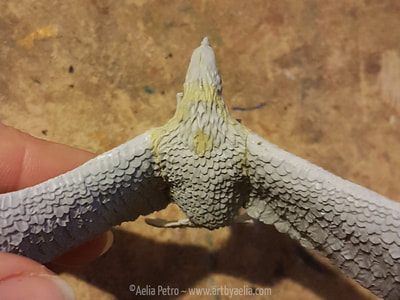
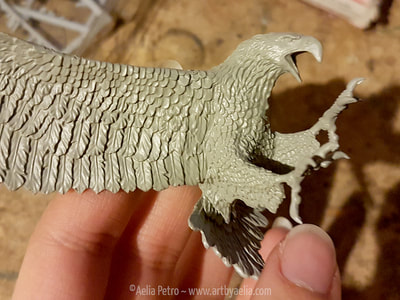
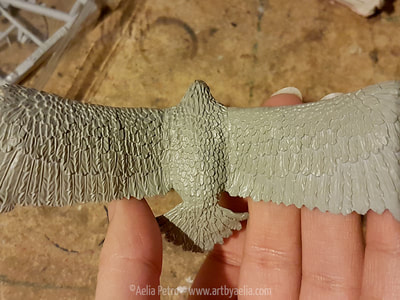
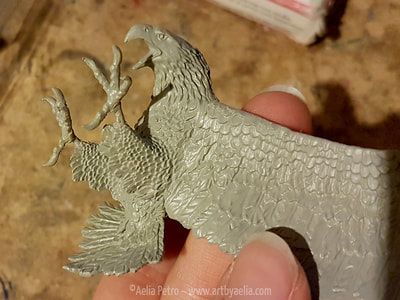
Another hobby project! This time a Games Workshop model, Radagast the Brown on Great Eagle. Looks relatively simple, yes? NO! As if VERY poorly fitting pieces weren't enough, I had to way over-complicate things for myself. Allow me to explain. The terrible, horrible, no good, very bad fit.WHY GAMES WORKSHOP, WHY?!?! This resin model kit has some truly appalling joins. I mean seriously. The unintentional gap where the neck meets the body is almost as wide as the intentionally made hole for the wings! WOWZA. There are also huge gaps where the wings meet the body, and along either side of the body between the wings and tail. Just awful. A bit of hot water was able to warp the two body halves into fitting together well, but the rest were beyond the powers of hot water. Milliput required. MUCH Milliput. EDIT: GW did send me a replacement for the warped pieces, their customer service is super helpful. It's still not a great fit, so be prepared for that if you purchase this kit. They are super helpful though, and their support was much appreciated! Buy with confidence that they'll make it right. Let's make it complicatedIn for a penny, in for a pound. I HATE mounted models that can't be removed from their mount. In a game where riders dismount voluntarily or otherwise, it's annoying, and I might want to use the eagle without the wizard. Radagast unfortunately doesn't sit very well on the Eagle on his own, he will always fall off. Ugh. Since I want the option of using the Eagle without Radagast, and don't want to have an alternate Eagle to use if/when Radagast dismounts, gluing him onto the eagle was a hard pass. I also hate using pins because then when you remove the rider there's either a hole or a pin, and that's ugly, so no. I opted to try something new (to me), using magnets. But I did NOT want the magnet to show on the Eagle, because that'd be even worse than the pin. The plan was to drill a hole large enough for the magnet, but deeper than required so that I could sculpt a thin layer of feathers on top of the magnet, concealing it. Above is a photo showing the neck gap, and the hold I dremelled for the magnet. It almost killed me to drill into the sculpt, and I worried I wouldn't be able to match the feathers, or would ruin it... but I proceeded. I started filling the gaps with Milliput and sculpting new feathers to blend the seams. You can see some of the gaps, and the Milliput used to fill them in the photos above. Some progress photos showing the sculpting process. The gaps have all been filled. The sculpting is finished, and all base coated. I was pretty pleased with how the sculpting worked out. The painted Eagle and rider!I used my typical assortment of craft acrylics to paint up this piece, and will seal it shortly. Still planning the base. And just because I'm SO FREAKING HAPPY with the way the magnet solution turned out, here's a video. IT WORKS and I. IS. HAPPY.
0 Comments
Your comment will be posted after it is approved.
Leave a Reply. |
AuthorThis is a blog for my artistic endeavours... as I experiment with new mediums, styles, and techniques, I'll post here. Archives
June 2020
Categories
All
|
All content is © Aelia Petro

 RSS Feed